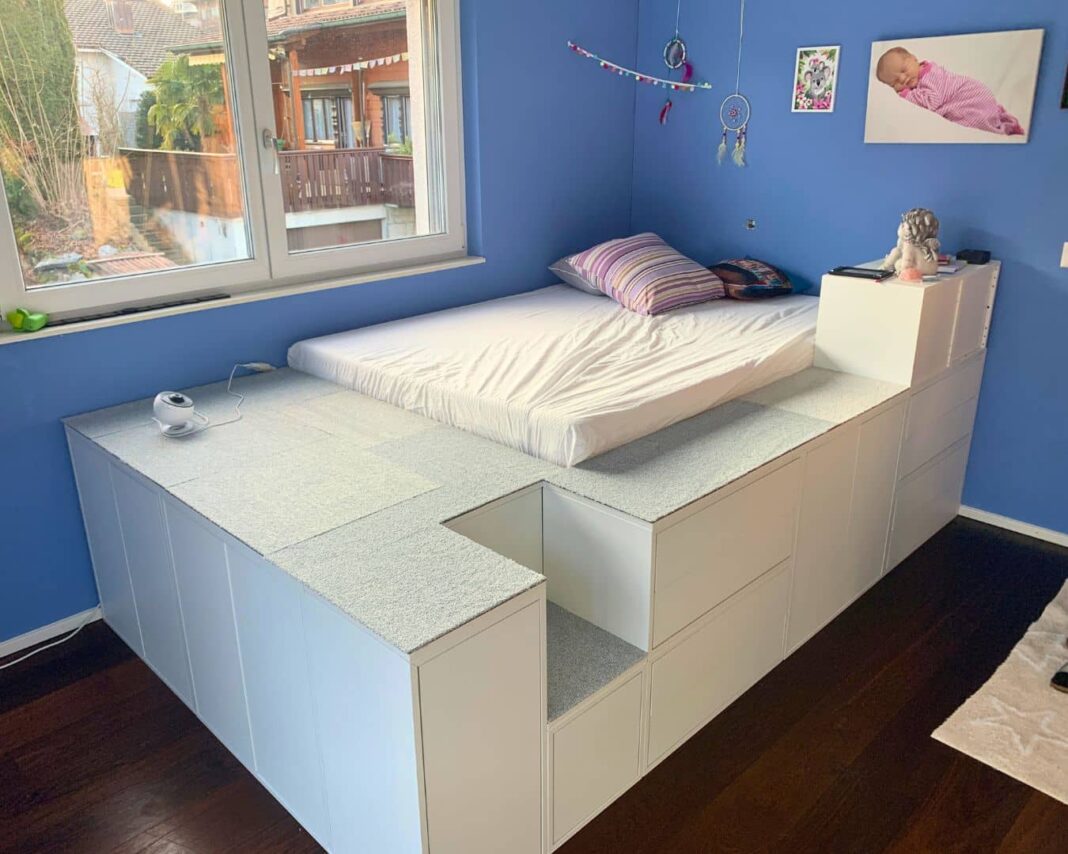
When does a cabinet become a bed? When it’s an IKEA hack that includes a bunch of different storage pieces, like a platform bed jigsaw puzzle.
Jean Daniel decided to grant their 10-year-old daughter’s wish for a more grown-up bedroom. (They actually swapped rooms!) Since their daughter now had a bigger bedroom, she wanted a bigger bed to go with it, so Jean used various IKEA EKET pieces to build a platform bed.
If you decide to recreate this hack, you’ll end up with a raised bed that offers storage and a small secret crawlspace. The process, admittedly, seems a little involved, but Jean says it’s actually easy to do.
What You’ll Need
- 4 IKEA EKET cabinets with two drawers (27½ x 13¾ x 13¾)
- 1 IKEA EKET cabinet with two drawers (13¾ x 13¾ x 13¾)
- 3 IKEA EKET cabinets with two doors and one shelf (27½ x 13¾ x 27½)
- 2 IKEA EKET cabinets with door (13¾ x 13¾ x 13¾)
- 2 IKEA EKET cabinets with four compartments (27½ x 13¾ x 27½)
- 1 IKEA EKET cabinet with door and one shelf (13¾ x 13¾ x 27½)
- 2 Packs IKEA EKET connection fittings
- 1 IKEA LÖNSET Slatted bed base
- 1 IKEA ÅBYGDA full foam mattress
- 10 2×3 boards
- Chop saw
- Long wood screws
- Drill/screw gun
- Sandpaper
- Custom wood panels/MDF sheets
- Double-sided tape
- Carpet squares
- 2 Wardrobe doors (Jean purchased doors from IKEA)
How To Build an EKET DIY Platform Bed
1. Start With the Frame
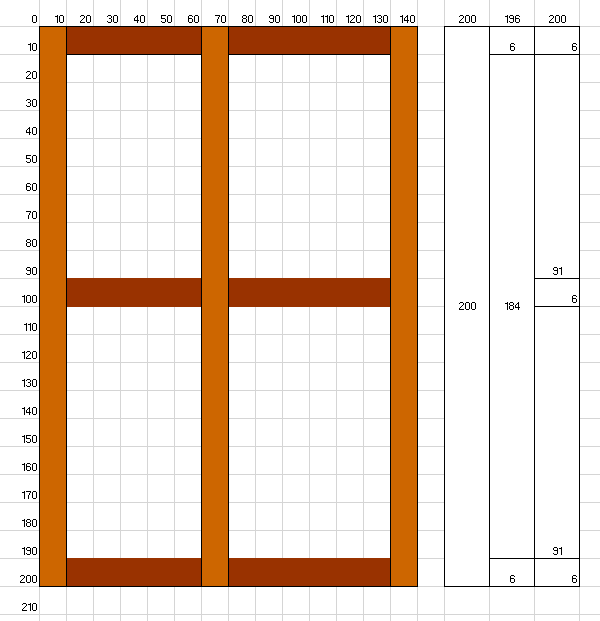
First, Jean built three frames using the boards. Position the frames where you want the bed. Use boards in between the frames, cut to approximately 36 inches in length, placing them near the ground to add stability. Jean mentions cutting one of these boards when the project was complete so the kids could have more room to crawl around under the bed.
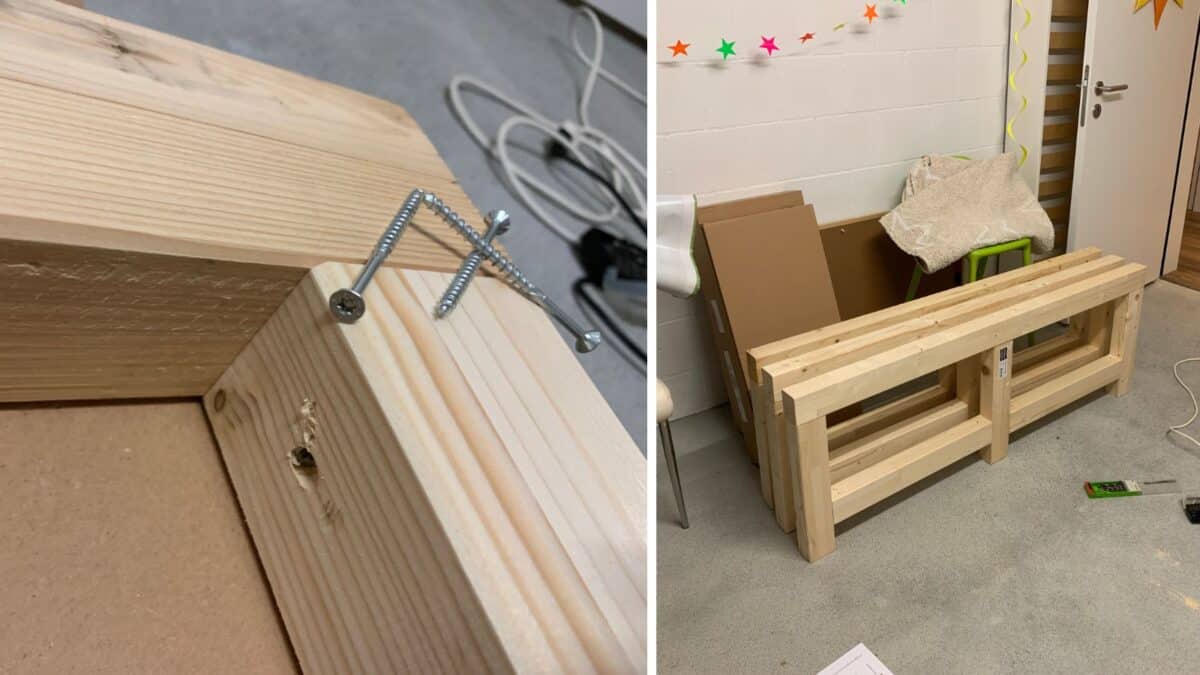
To assemble the frames, pre-drill holes and insert the screws at an angle (see the pic below). Jean says the frames actually came together relatively quickly. Sand the frames to ensure they’re nice and smooth since you’ll have kids playing underneath.
2. Position the EKET Components
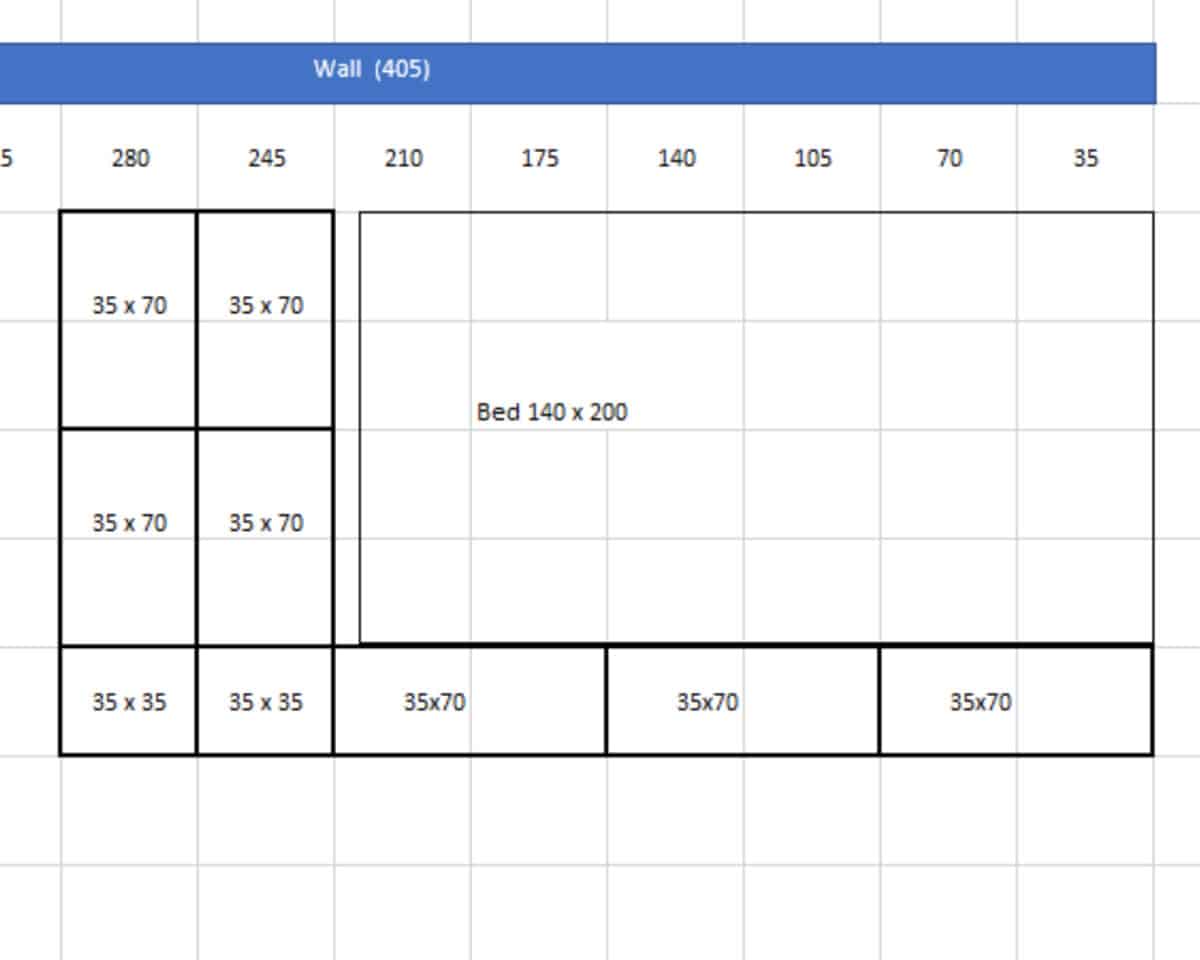
The EKET elements used for this project work nicely for a full bed. Jean says, “No spacer was required. I made the bed just as big so there was some free space at the end to open the drawers to climb into.”
Position the EKET pieces according to the layout photo and final photo as guides. Use the EKET connection fittings to secure them together. Jean’s measurements are in centimeters, so 35 is 13 ¾” and 70 is 27 ½”.
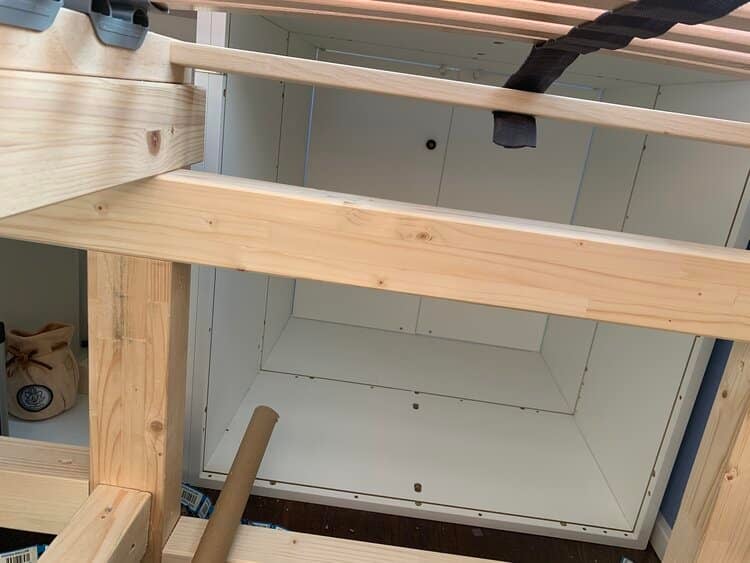
The final cabinet on the end has no door to accommodate the secret entry. Also, keep in mind, that the EKET series has a bunch of different variations, so as long as you maintain similar dimensions, you could opt for more drawers, doors, etc.
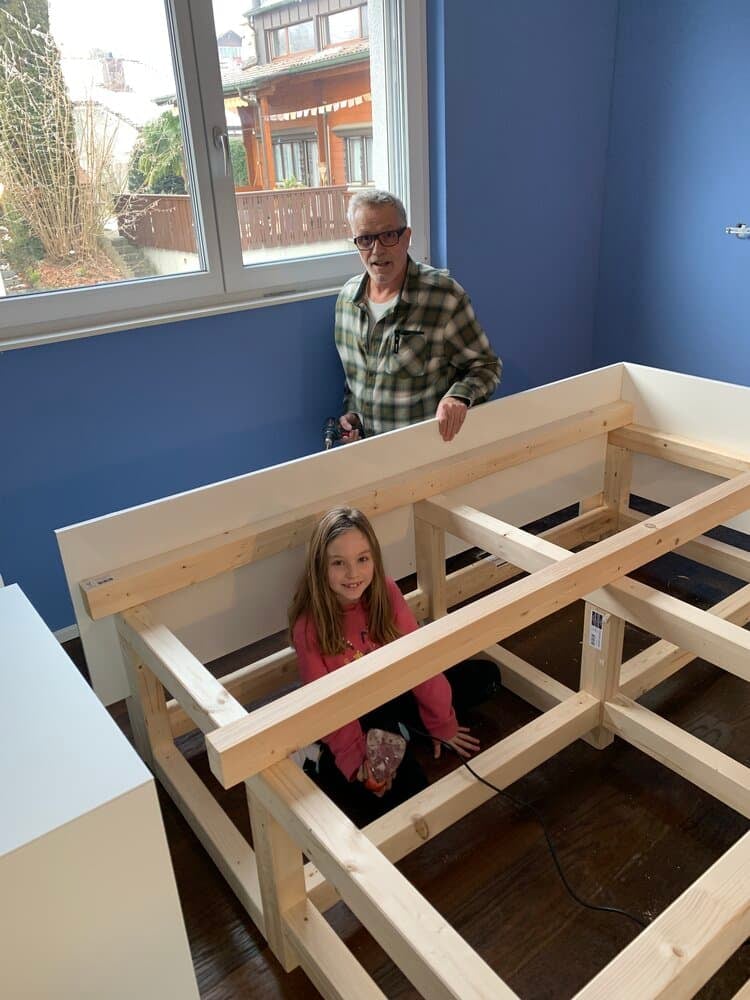
Jean attached two IKEA wardrobe doors to each side of the frame to keep the mattress from hitting the wall. I think this step is optional, depending on where you place your bed. But I would imagine it would also serve to keep the mattress from sliding if you don’t have the bed against a wall.
3. Reinforce the Top
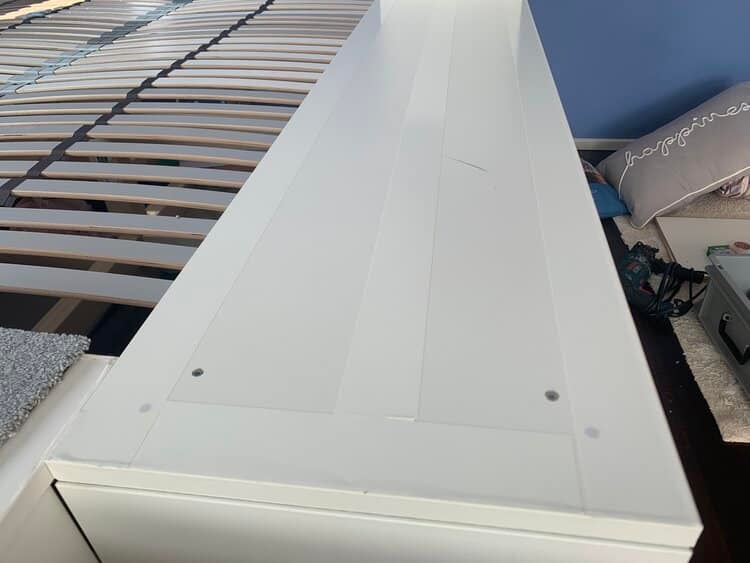
The EKET cabinets aren’t strong enough on their own, so Jean installed custom wood panels on the top. You could also cut sheets of MDF to size. Jean used “Tesa Extra Power Perfect” cloth tape over the wood and folded it over the side for a finished look, but you could also paint or stain the wood to match the cabinets.
Add the LÖNSET slatted bed base on top of the frame, attaching it with screws. A slatted base is vital for proper airflow to avoid bacteria and mildew growth on the mattress.
4. Add the Carpet Squares
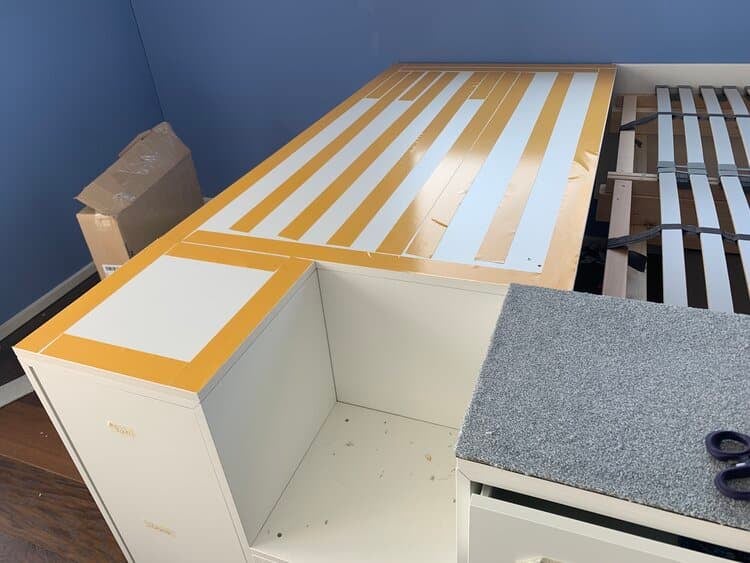
Attach the carpet squares using double-sided tape. Jean opted for squares for the nice finished edges instead of using rolls. However, she ended up having to cut some of them to size. If you do the same, finish the cut edges with carpet tape and position these edges toward the inside of the bed to help hide them.
5. Finishing Touches
Adding the mattress is the final step, and any finishing touches you prefer. Add a painted detail, fun bedding, lighting, etc.
Is This Hack Worth the Price? It Depends…
To me, determining if a DIY project is worth it is really subjective. Sure, you can look at numbers only and math tells you one thing. However, there’s also value in knowing you did something yourself and having more control over the finished product.
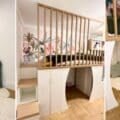
But for now, let’s stick with the numbers. Jean mentions that the entire hack costs about $1,100. Of course, this can vary if you decide to get some super cush, fancy mattress. But let’s assume you get the same IKEA ÅSBYGDA foam mattress.
You can get a queen loft bed with a built-in desk, shelves, and hanging storage for less than $500. Add some curtains with adhesive hook-and-loop, and you can create a closed-in space below. Or this full-size loft with tons of storage and a secluded hidey-hole is only $562.
But Jean’s finished platform bed does look pretty cool, and it’s certainly loaded with storage. Plus, you get bragging rights. Therefore, you need to decide if the time, effort, and higher price tag are worth it for you. What do you think?
To see more, check out Jean’s video showing the platform bed hack in progress and how it looks in the space. There are also tons of other ideas for making DIY platform beds and bedroom hacks, each with different storage configurations, price points, and nooks. Peruse your options to find one that speaks to you, and let us know what you decide!
Got an IKEA hack that you can’t wait to show off? Send it our way and you could be our next featured hack.

