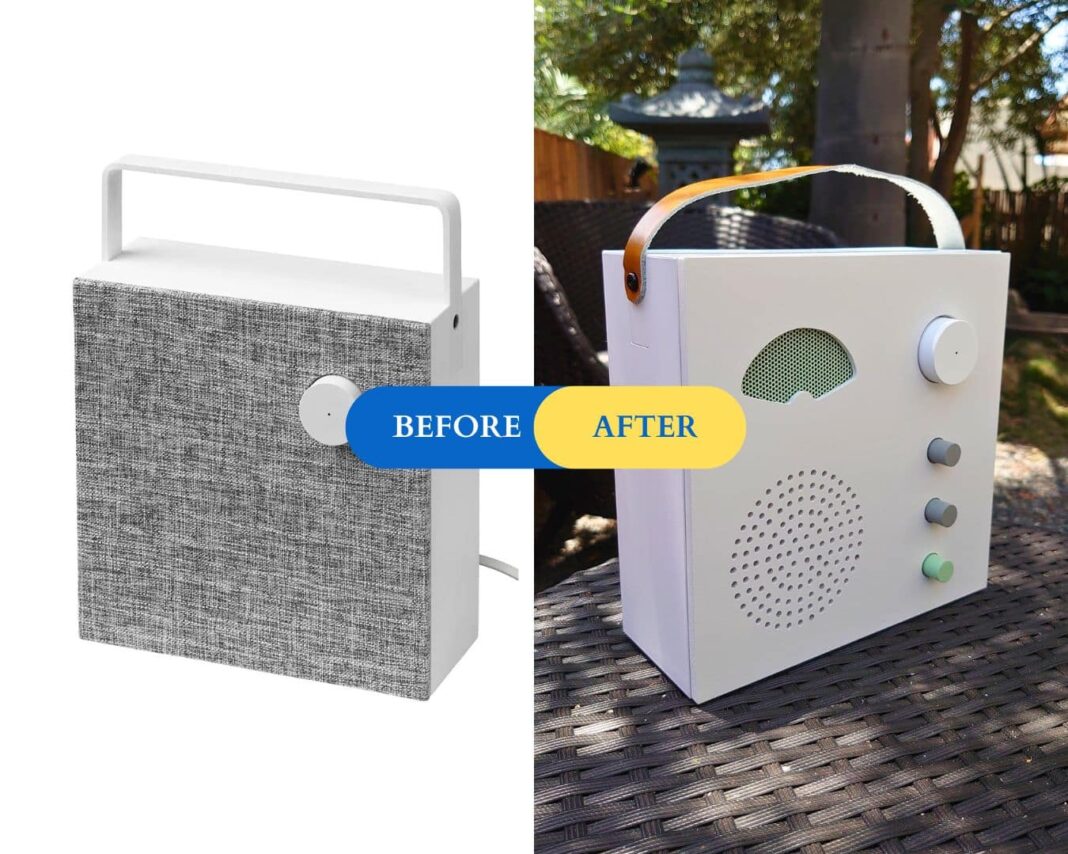
The saying that “All good things must come to an end,” obviously doesn’t apply to interior design. Retro and vintage decor is huge, and styles like mid-century modern seem to be an ongoing trend.
You can find replicas or get originals, or you can do what Nick Colsey did and turn the things you already have into a blast from the past.
Nick had the IKEA ENEBY speaker and was happy with the sound, but not the style. He thought it was a little bland, so he decided to give it a vintage glow-up.
He was inspired by the work of legendary designer Dieter Rams, who worked with Braun in the 1950s and 1960s. The result is a retro showstopper that looks like it’s straight out of the history books.
What You’ll Need
- 1 IKEA ENEBY 20 speaker (or VAPPEBY)
- 5mm acrylic sheet
- Acrylic dowels
- Perforated metal (for tweeter grill)
- Leather
- Indexing table and drill press
- Sandpaper
- Leather punch
- Spray adhesive
- Superglue
- White spray paint
- Gray spray paint
- Green spray paint
- MDF
- Clamp
- Saw
- File
- Tape
- Basics — Screw gun, drill, screws, tape measure, pencil
Giving a Modern IKEA Bluetooth Speaker a Retro Facelift
1. Cut Acrylic
Remove the standard grill from the speaker. Measure and cut the acrylic to the size of the ENEBY speaker (This hack would also work with the VAPPEBY speaker.) Make it slightly oversized (you’ll trim it later).
2. Drill the Grill Holes

Make a paper template. Enlarge and print a photo of the Braun TP1 radio to get the appropriate grill pattern. Nick suggests enlarging the picture so the grill is roughly 3 inches in diameter. He provided this heads up, “It may look like rows of evenly spaced holes, but it’s actually a complex pattern.”
Position the template on top of the acrylic and use spray adhesive to keep it in place. Tape the edges. The holes won’t line up exactly with the speaker in the ENEBY, but that won’t affect the sound quality.
Clamp the acrylic to an MDF base, then fix the indexing table to the drill press. Use a ⅛” drill bit to drill the holes one by one. Make sure the holes are perfectly aligned with the template so you don’t lose the Rams look.
3. Prep the Tweeter
Remove the acrylic from the indexing table and mark and cut the tweeter aperture. Flip it over and cut a 2mm rebate for the metal tweeter grill. Paint the metal for the tweeter grill and let it dry.
4. Make Hole for Volume Knob

Drill a hole for the ENEBY volume control (use a 35mm or 1 ⅜” Forstner bit.) If you need to, you can also make a template for this part, marking and cutting the hole in the paper template and attaching it to the acrylic.
4. Create Fake Dials
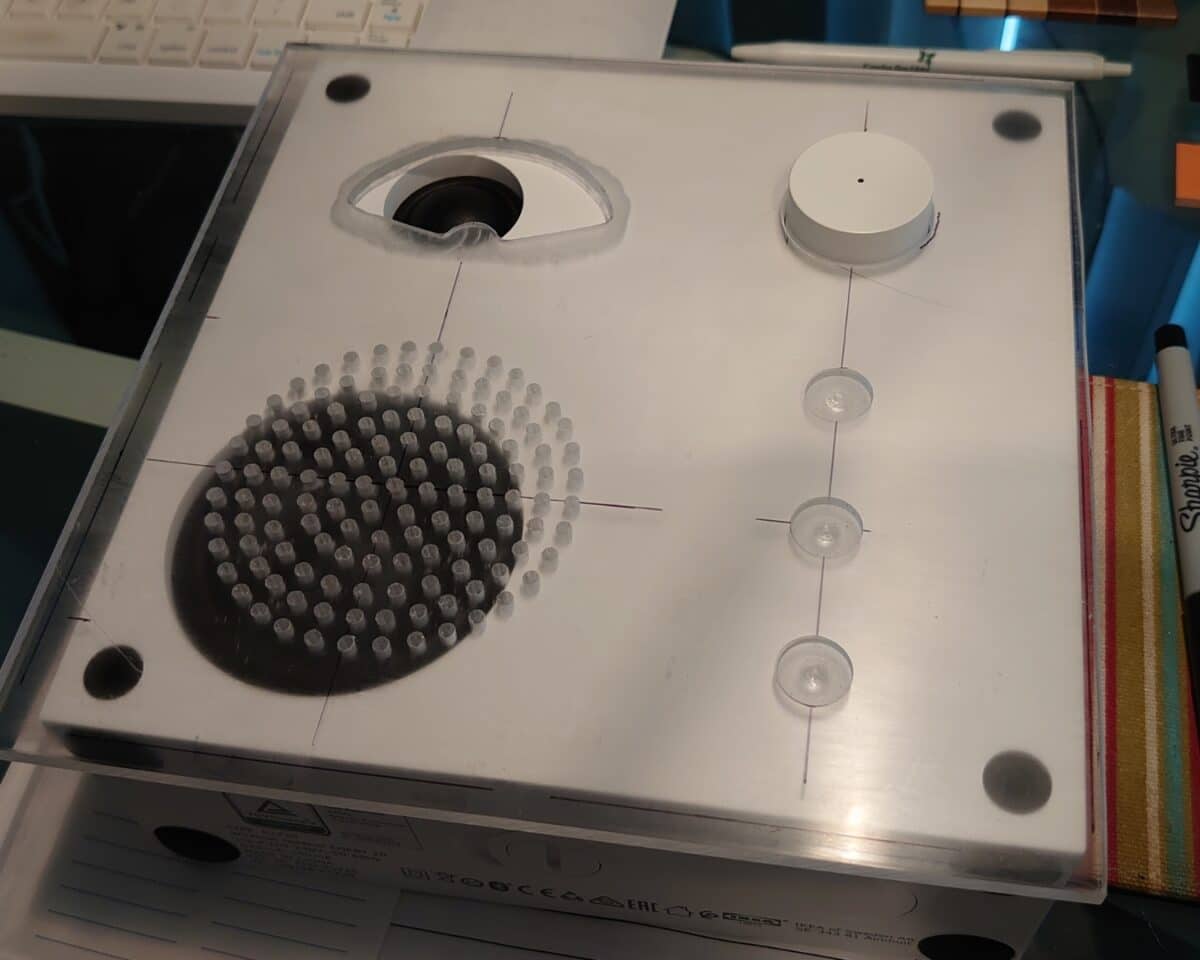
Add fake dials to make the speaker look more like the Dieter Rams retro model. Mark and drill blind holes in the acrylic for the dials. (Note: Blind holes don’t go all the way through the material; they create a pocket.)
Create dials using 12-mm acrylic dowels (12 mm diameter and 12 mm long.). Paint the dials and let them dry.
5. Paint and Attach the Acrylic
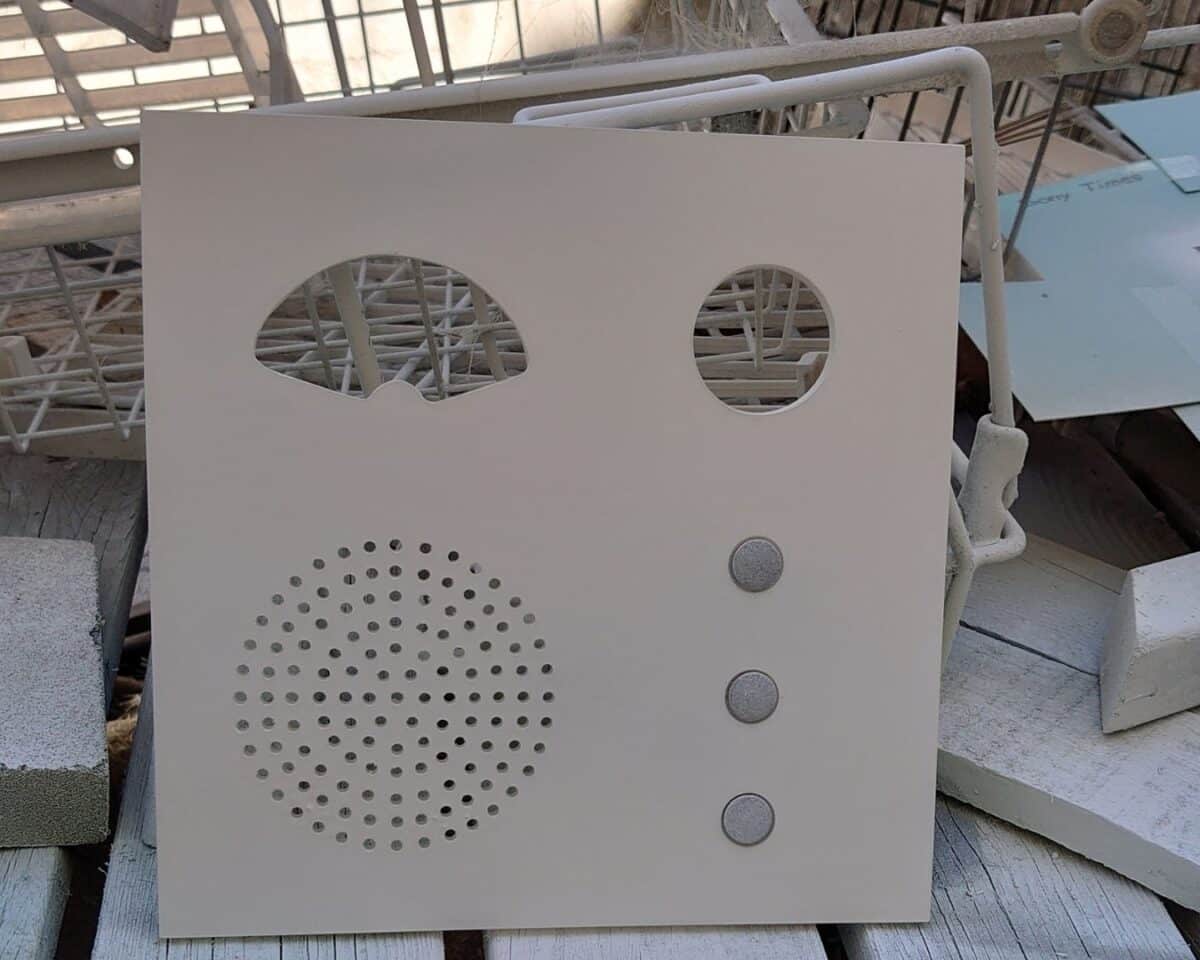
After cutting all the holes in the acrylic and testing the precise fit on the speaker, paint the acrylic. Let it dry thoroughly before assembling pieces.
Create holes for the posts to attach the acrylic to the ENEBY speaker. Make a 3mm hole in each corner in the back of the acrylic, paying attention to their relative position to the volume control.
Make the four posts out of 3mm acrylic dowels that are 10mm long. Attach them to the acrylic with superglue, then fix them to the ENEBY. Cut down the acrylic after attaching posts so it’s right up to the edge of the speaker.
6. Assemble the Retro Look
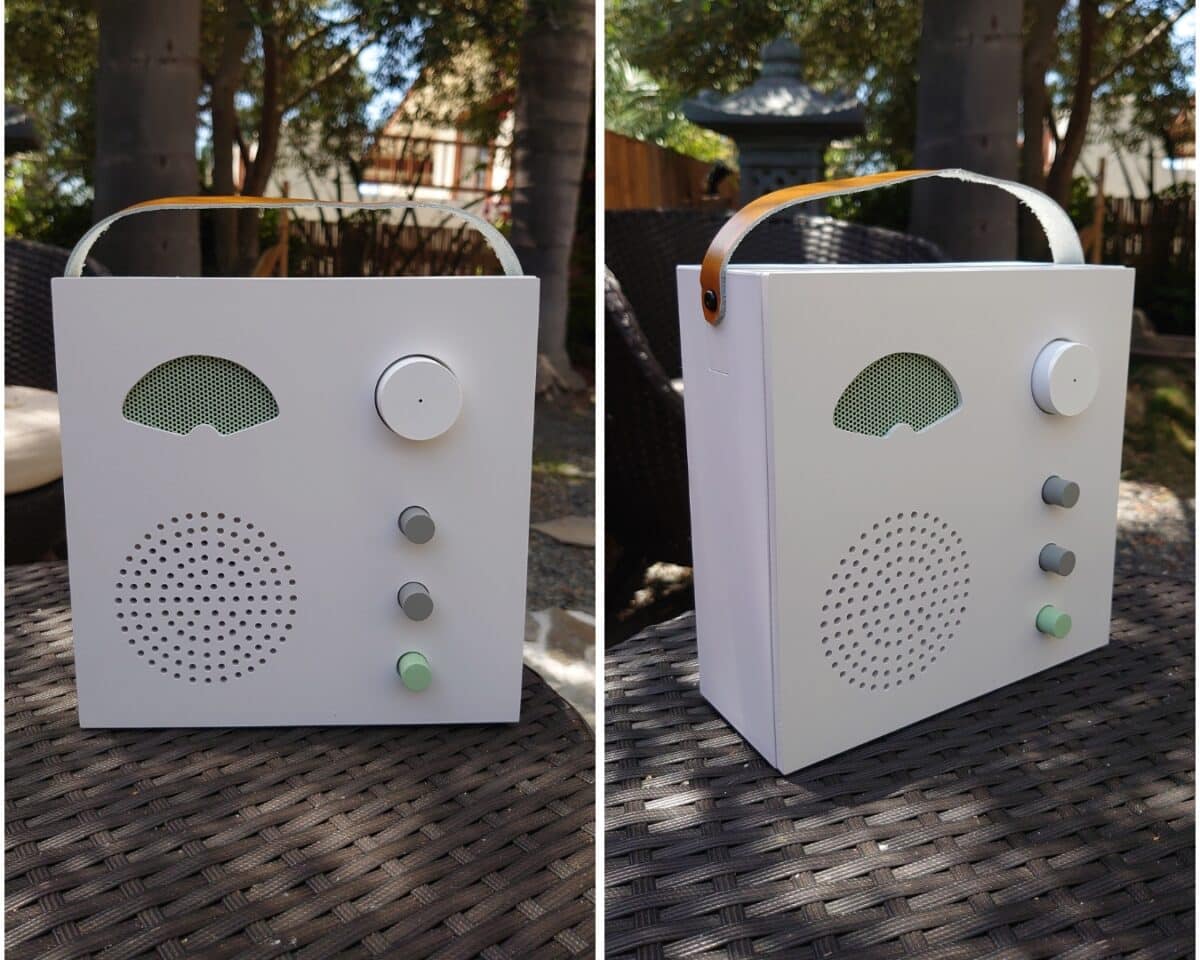
Glue the tweeter grill and dials to the acrylic using superglue. Remove the ENEBY’s metal handle (hold onto the screws), and cut a leather handle that is 3/4″ wide and 11” long.
Punch screw holes into the leather, then attach it to the same place the metal handle was. Use the same screw you removed.
A Few Notes from the Hacker

Nick had a few tips and precautions to share about the hack. He said he bought the indexing table on Amazon for about $30; otherwise, it didn’t cost him too much for this hack because he had most of the materials lying around.
Nick said the hack took about three days. The hardest part was drilling the grill, and it’s important to pay close attention to the pattern. If he were to do this hack again, the only thing he’d do differently would be to add text above the dials.
What do you think? Is this retro replica something you could pull off? Have your own vintage-inspired hack to share? We’d love to see it!
Never miss an IKEA hack. Get them in your inbox!
NEXT: Explore more IKEA music and sound hacks
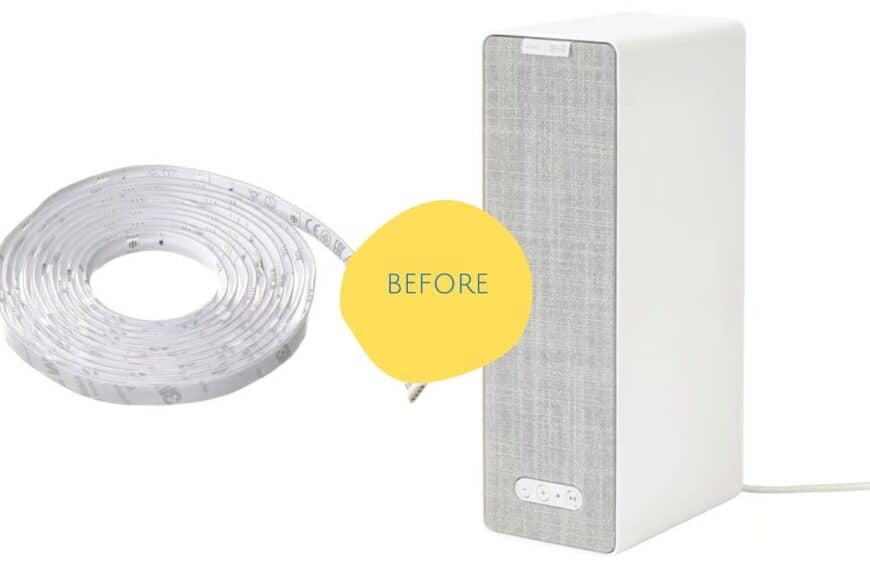
An IKEA Speaker, a Light Strip, and One Seriously Good Idea
Sound? Checked.Light? Checked. Prolific IKEA hacker, Bjørn Aksel Storkaer, merges the SYMFONISK speaker with ambient LED lighting. The result? A sculptural linear light-and-sound piece that’s practical and beautiful. “I had…
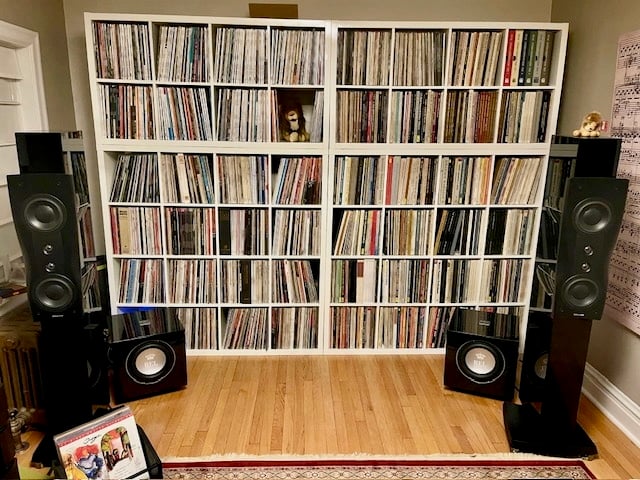
Keep Your Vinyl Records in Line with This Ingenious Shelf Stopper Hack
Jeff Richards has found a simple yet effective solution for vinyl record collectors who use IKEA’s Kallax cubes to store their albums. With just a few inexpensive materials and minimal…
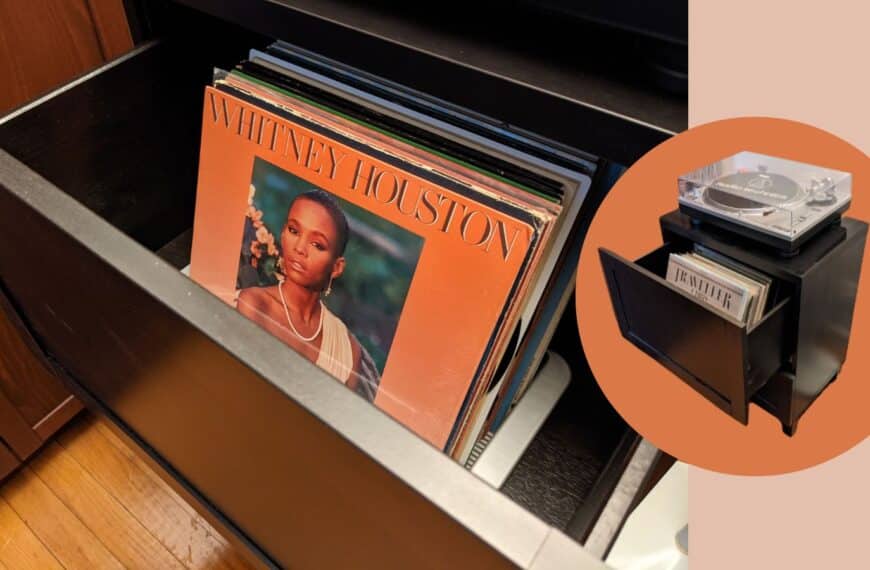
Turntable Stand with Front-Facing Vinyl Record Storage (Makes Album Flipping A Breeze)
I love IKEA products for their simplicity, clean lines, and suitability for endless creative uses. I particularly like the BILLY Series and the BESTÅ Series (especially frames) for creating custom combinations…
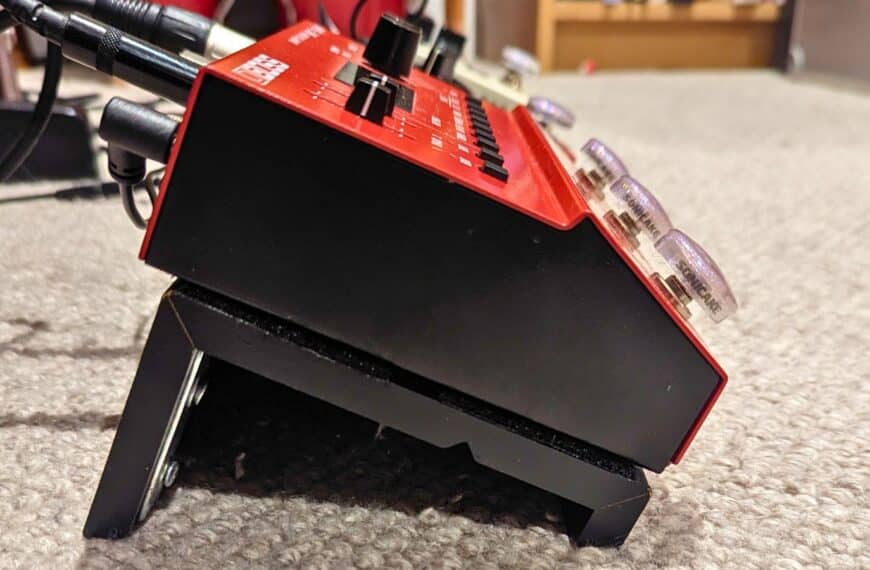
DIY pedalboard in 10 minutes using affordable IKEA products
Building your own pedalboard doesn’t have to be expensive or complicated. With a trip to IKEA and some out-of-the-flatpack thinking, you can craft a sturdy and stylish platform for your…
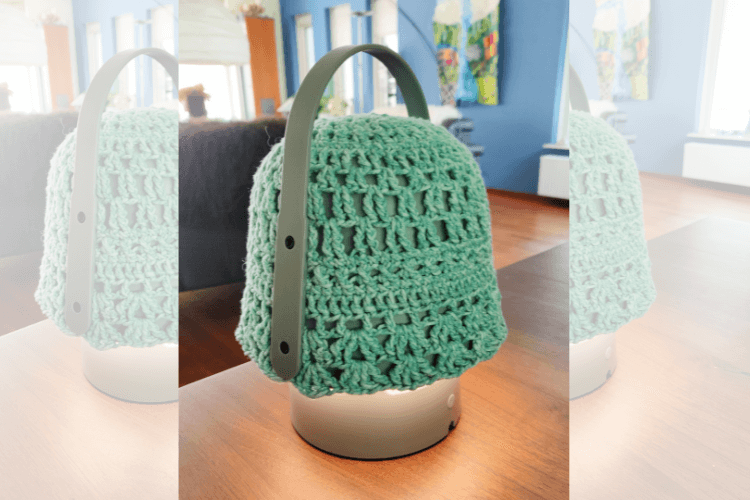
Spotify Tap and a Hat for IKEA’s affordable Bluetooth speaker
Wineke, from the Netherlands, appreciated the sound quality of the IKEA VAPPEBY Bluetooth Speaker but is not entirely fond of its appearance. The IKEA VAPPEBY Bluetooth speaker lamp has a…
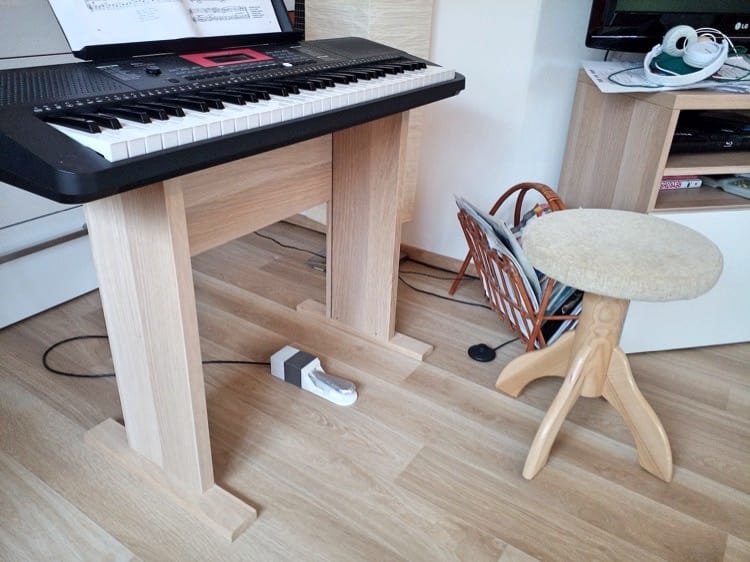
Wooden keyboard stands you can easily make at home
If you’ve got yourself a piano keyboard, pairing it with a good stand is essential. The good news is it’s not hard to DIY a wooden keyboard stand. For that…

