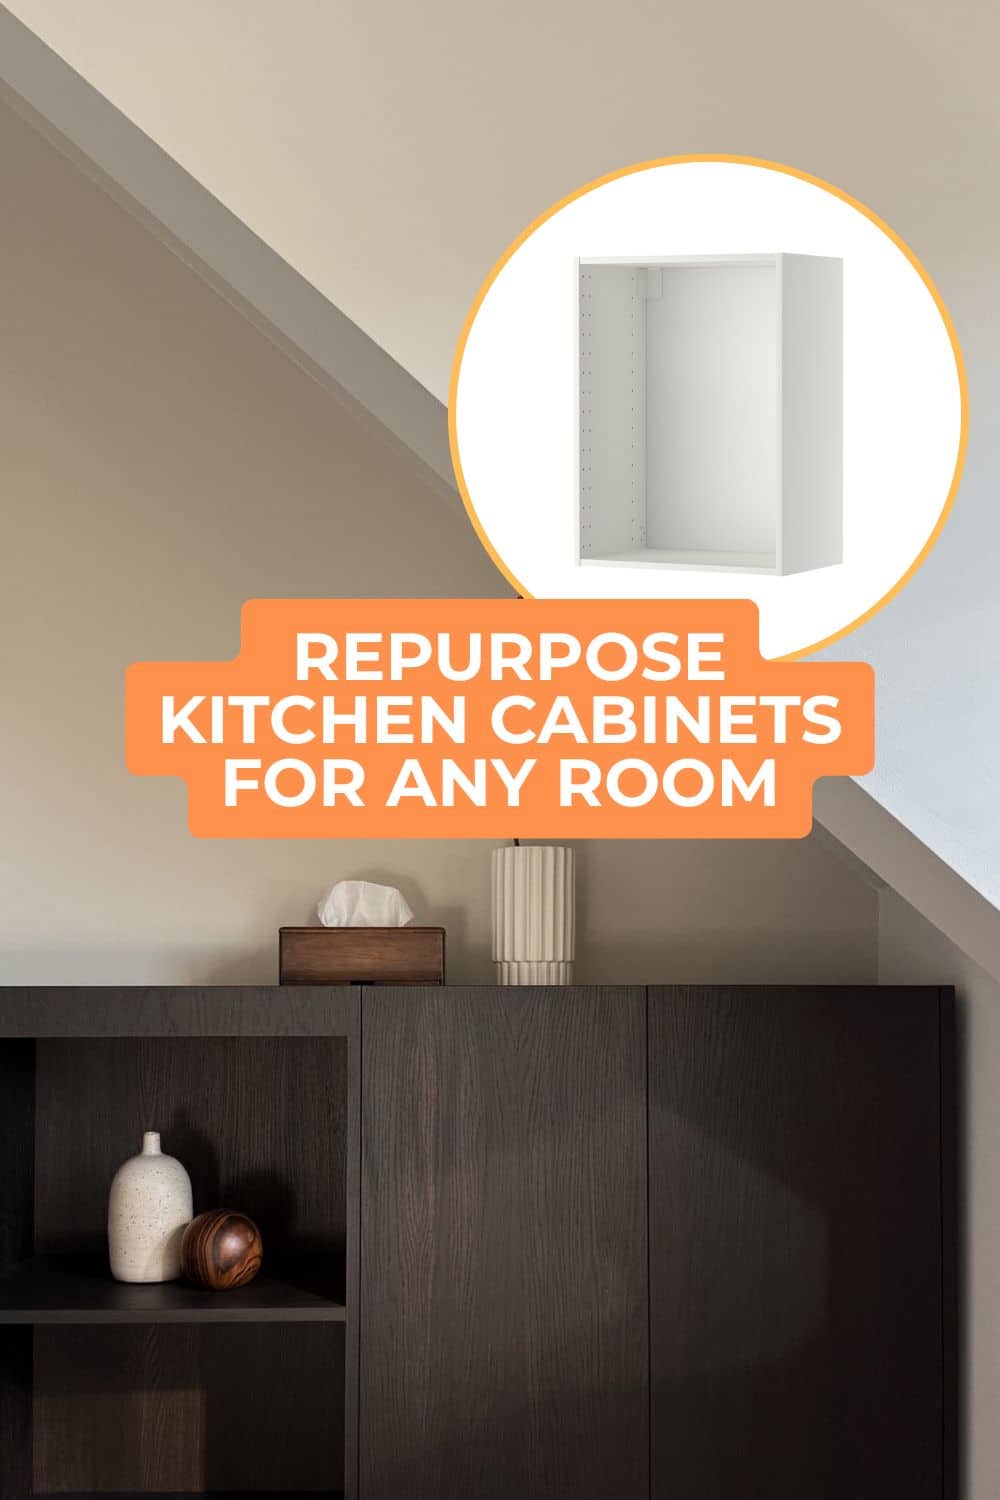
IKEA METOD cabinets may be designed for the kitchen, but this hack proves you can cook up a great idea anywhere.
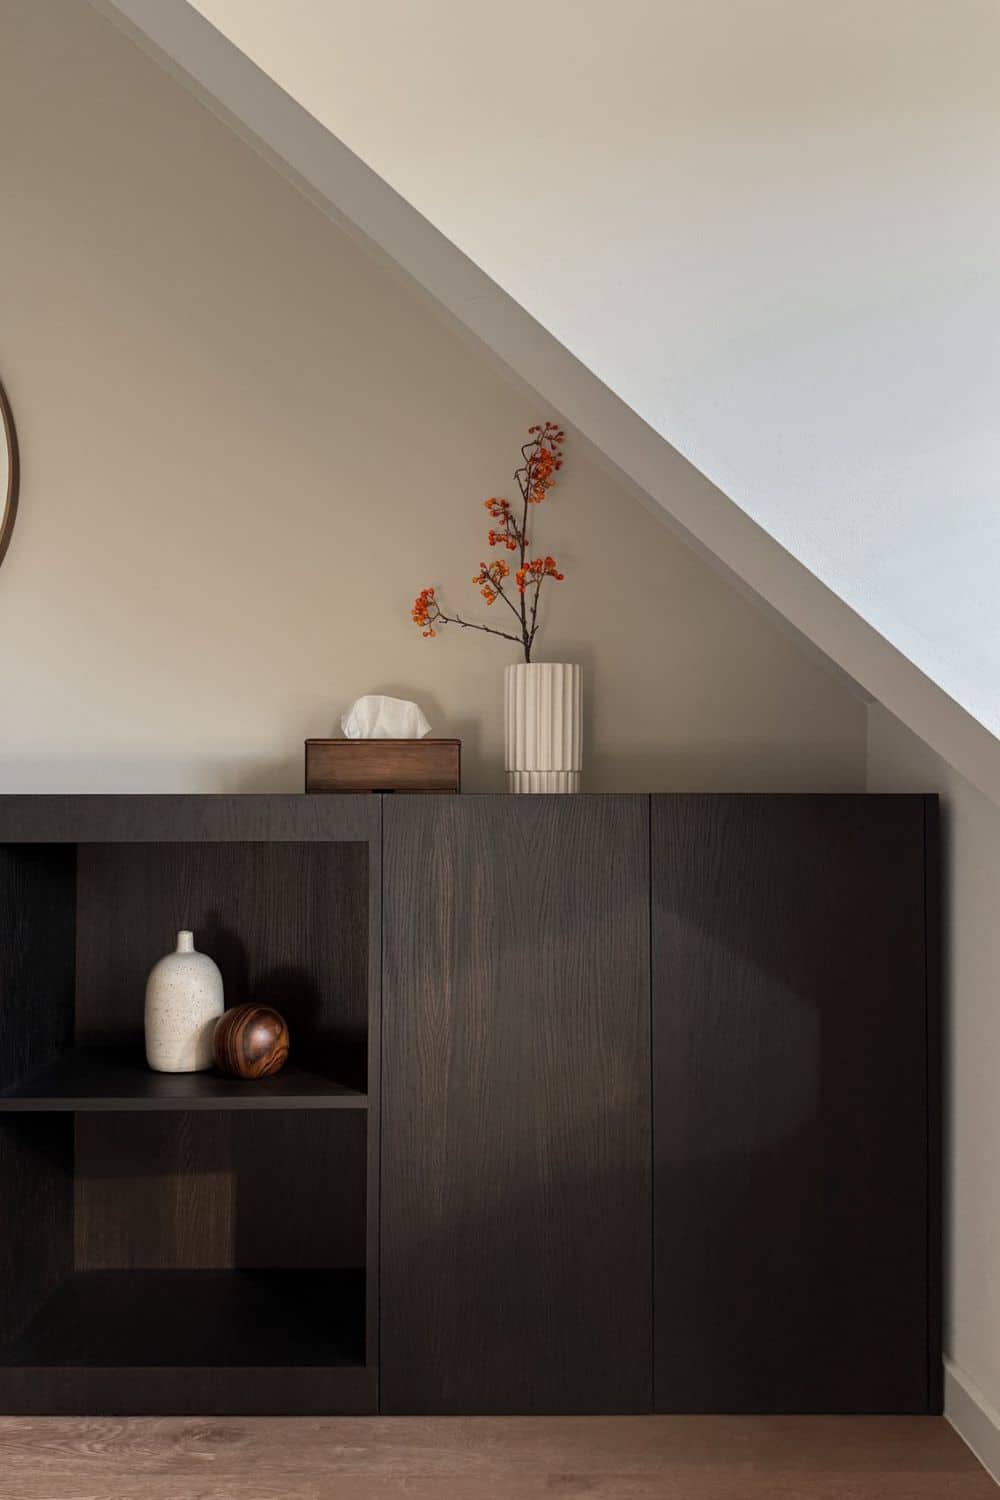
In this IKEA METOD cabinet hack, Chris (@_casa_seven) transformed standard kitchen wall cabinets (SEKTION, if you’re shopping at IKEA US) into a custom storage cabinet.
The stylish DIY storage console is great for keeping everything from clothing to books out of sight.
It’s an excellent example of what you can get when you think outside the box. There’s no rule that says you have to use pieces in the rooms they’re initially intended for (just check out this METOD bathroom hack), and that’s what makes it so fun.
Quick Steps to Turn IKEA METOD Cabinets into a DIY Storage Console:
- Assemble IKEA METOD wall units.
- Measure and cut MDF panels and doors (slightly taller for built-in handles).
- Attach panels and install doors using IKEA hinges.
- Stain or paint MDF for a custom finish.
What You’ll Need for This IKEA METOD Cabinet Hack
- IKEA METOD wall units (60cm x 37cm x 100cm) — or IKEA SEKTION if you’re in the US
- IKEA UTRUSTA hinges
- MDF oak veneer panels
- Oak veneer banding
- Color stain
- Basics — drill, screw gun, tape measure, pencil, saw
Turn Kitchen Cabinets Into a Sleek Storage Console
1. Assemble the IKEA METOD Cabinets
Following your IKEA cabinet storage idea, put together the METOD cabinets according to IKEA instructions. How many you need depends on your space. You can make your storage the same size as Chris’s, or you might decide to go shorter or longer.
2. Measure and Cut MDF Panels for Your Storage Console
Measure and cut the MDF panels to size for the sides, back, and doors. However, make them slightly taller than the cabinets to create a rim that also acts as handles.
This little touch adds just the right amount of detail to make this DIY storage console look sophisticated and custom, without going overboard with complicated steps.
Adding the matching banding around the unfinished sides of the panels keeps everything visually appealing.
3. Attach Panels and Install Doors
Install the back on the cabinets from behind, then put the unit in place in front of the wall. If you’re planning to keep the back exposed, screw into it from inside the cabinets. Likewise, add the taller side panels, attaching from inside to maintain a smooth exterior.
If you use a continuous piece for the back, this certainly adds stability, but you could also make them individually if you want to separate the units for more flexibility. But, you won’t get the same exact effect of having one, continuous built-in storage unit.
Use the IKEA hinges to add door panels as desired. Chris opted to leave one cabinet open for some display space, which also keeps the piece from becoming overly heavy visually.
4. Stain or Paint Your DIY Storage Console
Apply the stain of your choice with a soft cloth or brush to finish everything off with a seamless look. Chris used a mix of 90% Colonial and 10% Black from Trae Lyx (@traelyx), but you can choose any finish that complements your space. Painting is also an option if you want a bold IKEA kitchen cabinet makeover.
Why We Love This IKEA Cabinet Storage Idea

We always love a good-looking IKEA hack, especially ones that don’t require dozens of steps and specialized tools with strange names (here’s looking at you, stubby nail eater). Okay, full transparency, we love the really complicated ones, too, even if we only dream about doing some of them.

But one of the things that stands out about this IKEA METOD cabinet hack is the simple way Chris created a custom look that also adds function. Making the doors just a little taller gives the cabinets a different look from their original design.
However, this detail also allows you to open the doors easily while maintaining the clean, crisp front.
If you don’t want to use hardware of any kind and prefer a smooth surface, this small tweak is an excellent option. It’s a great example of repurposing IKEA cabinets to fit your style and storage needs.
What do you think? Where would you use something like this in your house?
Watch the hack, and follow Chris @_casa_seven to find more exciting ways to DIY your way to a beautiful, functional home.

