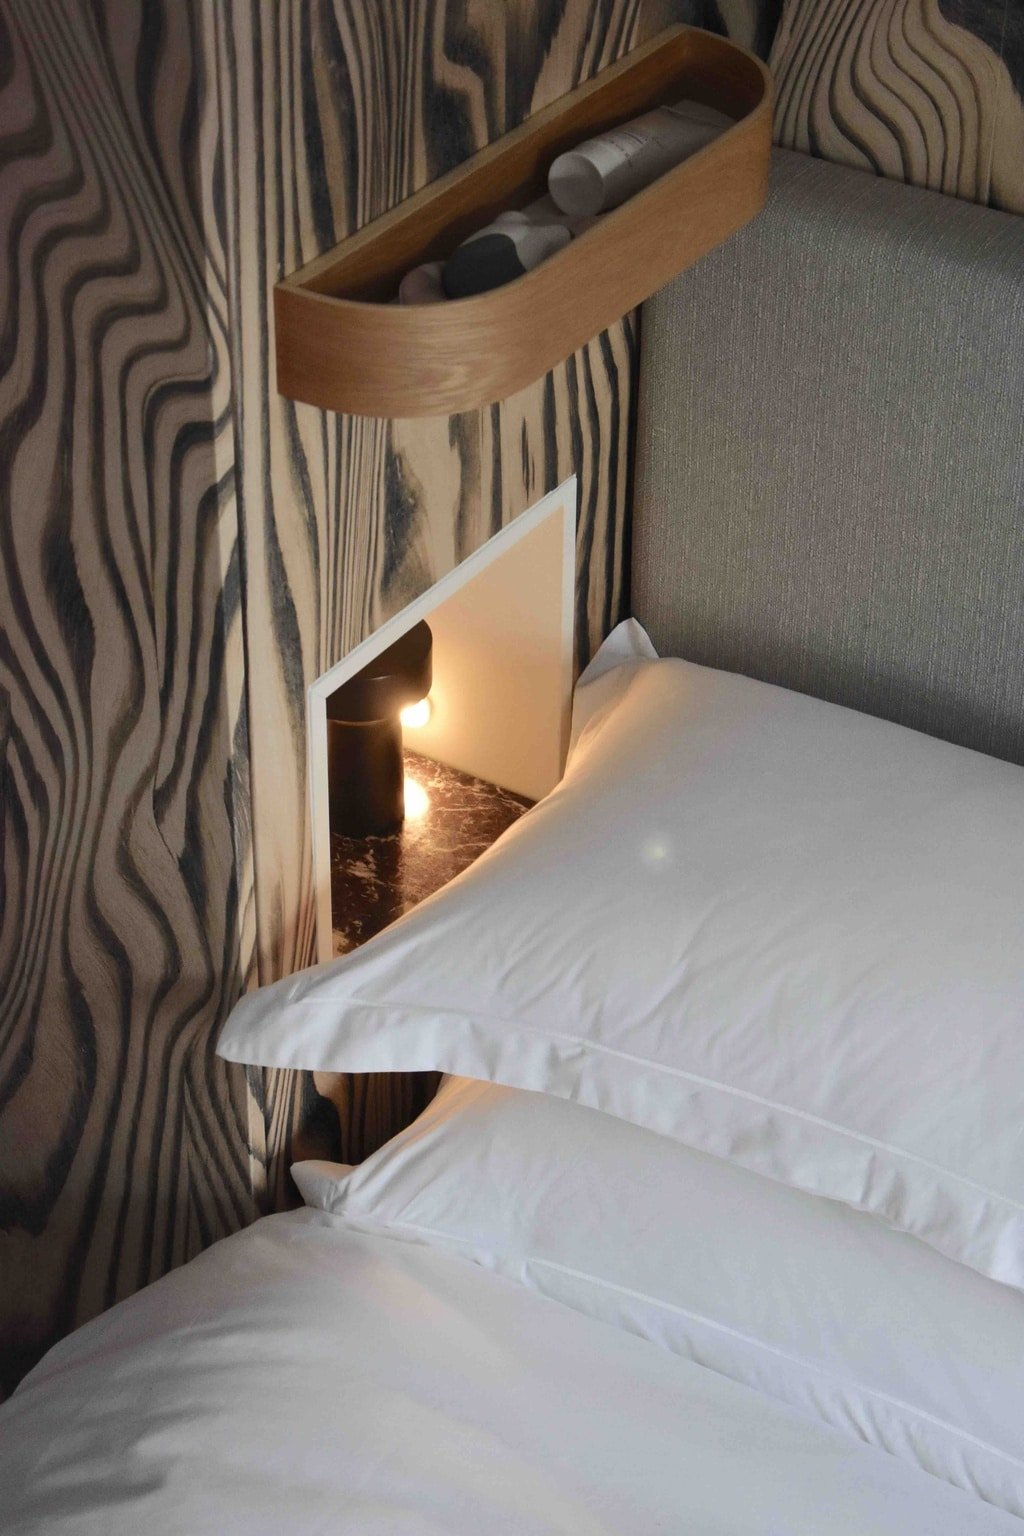
When you’re tight on bedroom space, squeezing in extra storage often means sacrificing something else, like your bedside table.
But what if you didn’t have to choose?
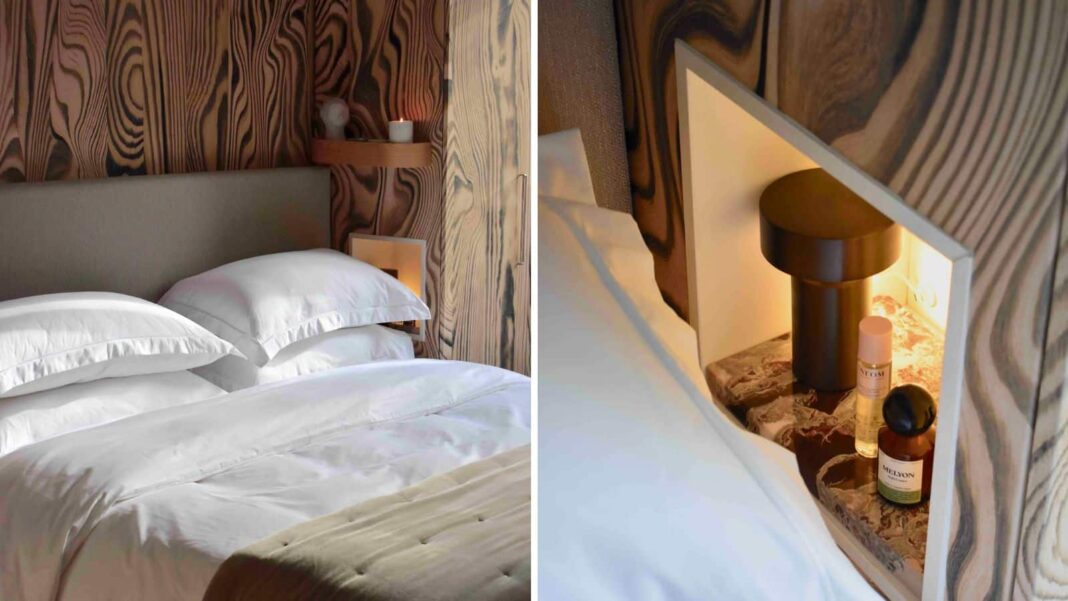
That’s what Mathilda (@mkdesign.london) figured out. Instead of letting the two PAX wardrobes swallow up the space beside the bed, she carved out clever recessed niches right next to her bed.
The small built-in wardrobe niches are perfect for charging her phone, a table lamp, and stashing nighttime essentials.
It’s a brilliantly simple idea that looks custom, solves a real design dilemma, and needs no fancy tools or weeks of hacking.
Let’s take a look at how Mathilda did it.
What You’ll Need
- 2 IKEA PAX wardrobes (if doing both sides of the bed)
- 2 IKEA EKET cubes (13 ¾” x 13 ¾” x 13 ¾”)
- Rubber grommet hole plugs
- L-brackets
- Caulk
- LED lights (optional)
- Basics — drill, screw gun, tape measure, pencil, saw
How to Maximize Space With a Clever Wardrobe Niche
1. Assemble the IKEA Pieces
Put together the PAX wardrobes and EKET cubes according to IKEA instructions. This step assumes you don’t already have PAX in place on either side of your bed. Position the PAX where you need them, and check out this hack if you want ideas for a built-in PAX.
2. Make Room for Cords
Cut a hole in the back of each EKET cube to create a pass-through for cables and plugs. Use the rubber grommets to hide the hollow insides of the cabinet and give the piece a more finished look. Make sure you use a rotary bit with the appropriate diameter to match your grommets and fit plugs.
3. Insert the EKET Cabinets Into the PAX
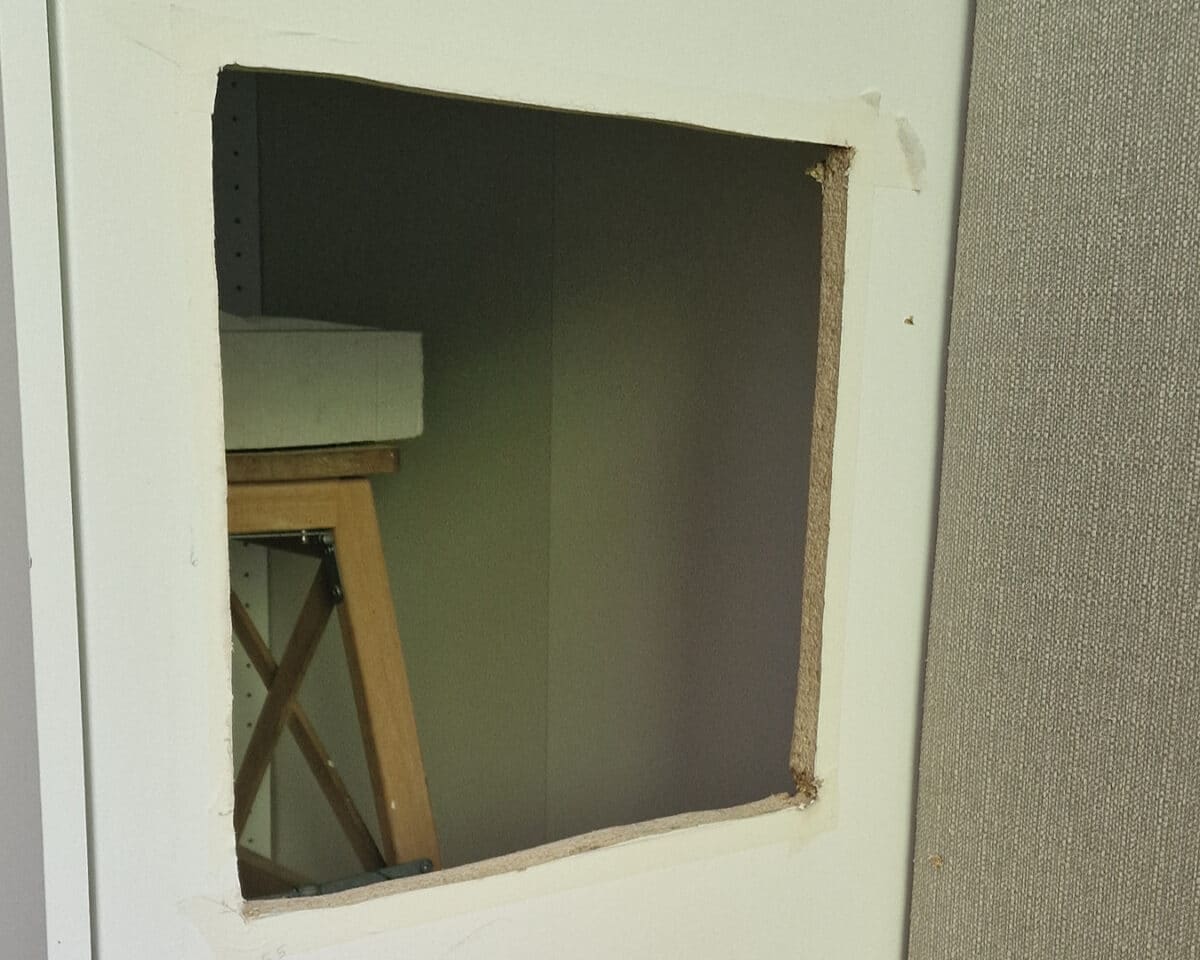
Cut out a 13 ¾” x 13 ¾” square on the side of each PAX unit that faces your bed. Position the square just above the level of your mattress to make it a convenient height. Insert the EKET cabinet into the square and secure it in place with L-brackets from inside the PAX wardrobe.
4. Caulk and Set Up Lights
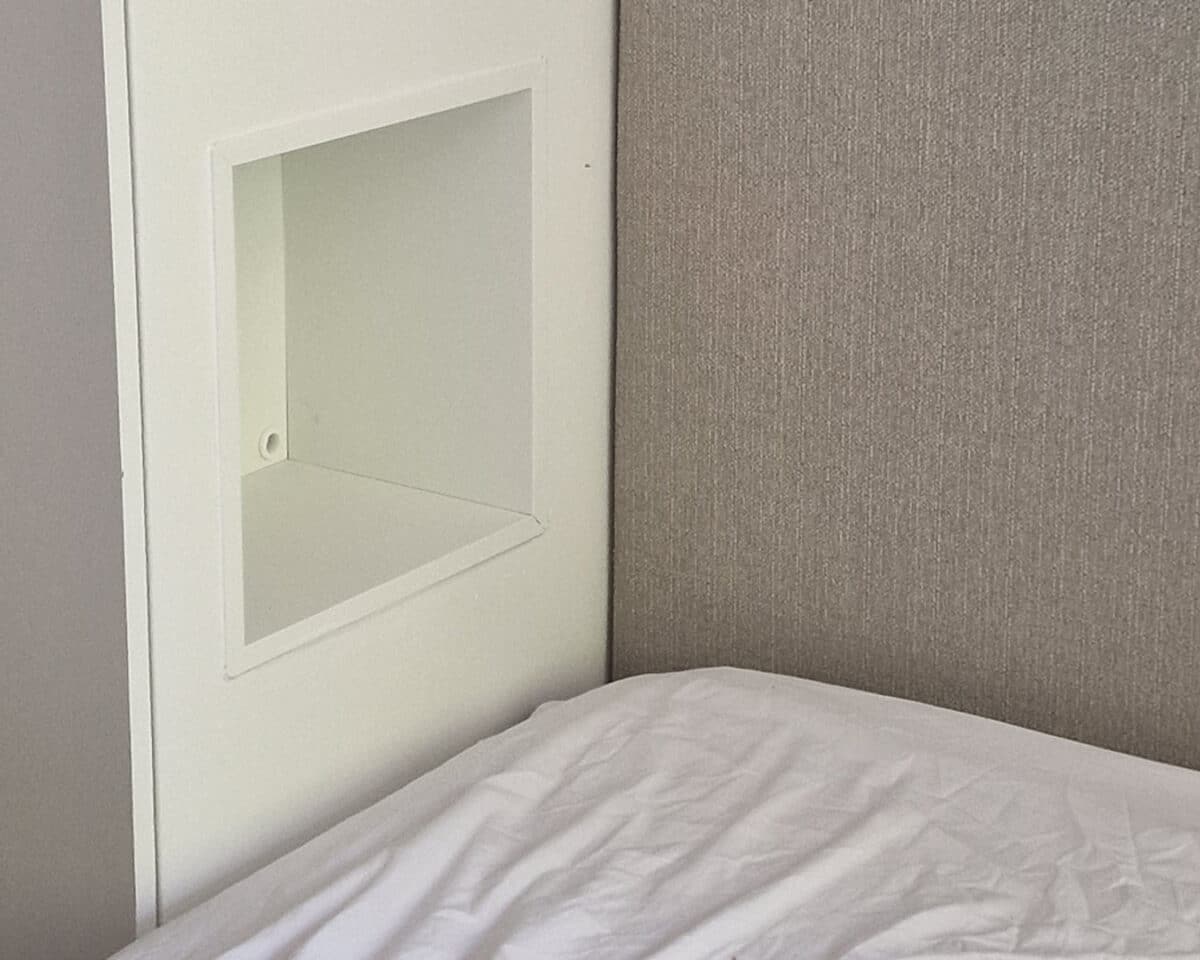
Caulk around the front edges where the EKET meets the PAX to create a sleek finish. Place your LEDs, if you’re using them, and run any cords through the holes in the back.
Mathilda applied a veneer-effect wallpaper to the sides of the PAX and the wall behind her bed to further enhance the custom look. You could do the same, or you could leave them white, or paint them.
That’s it! Admire your work, and pat yourself on the back!
Before you cut a bedside niche into your PAX wardrobe
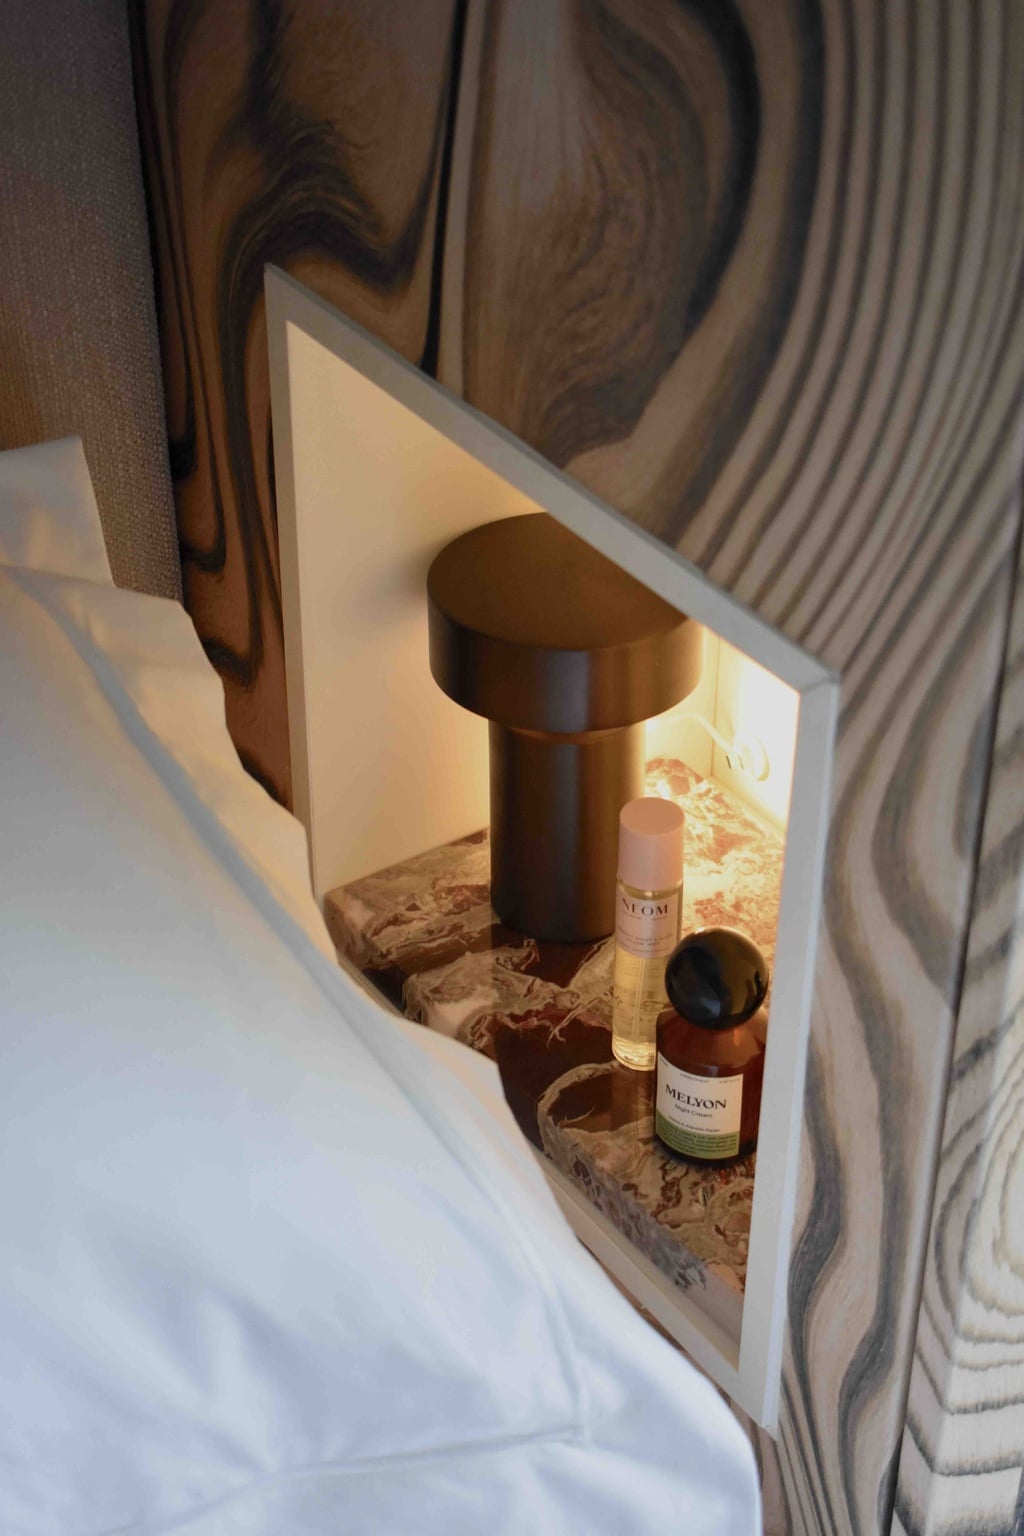
Before cutting into the PAX, carefully measure to ensure you don’t go too large. Also, as with any IKEA hack, once you cut a hole out of the PAX, you void the warranty.
A hole could also compromise the structural integrity of the unit, so consider reinforcing it or securing it to the wall (which you should do anyway).
To level up the look a bit, you could add trim around the cube. If you don’t want to sacrifice as much space inside the PAX, choose the shallower EKET.
What other things can you think of when it comes to this hack? Would you do anything differently? What do you like the most about it?
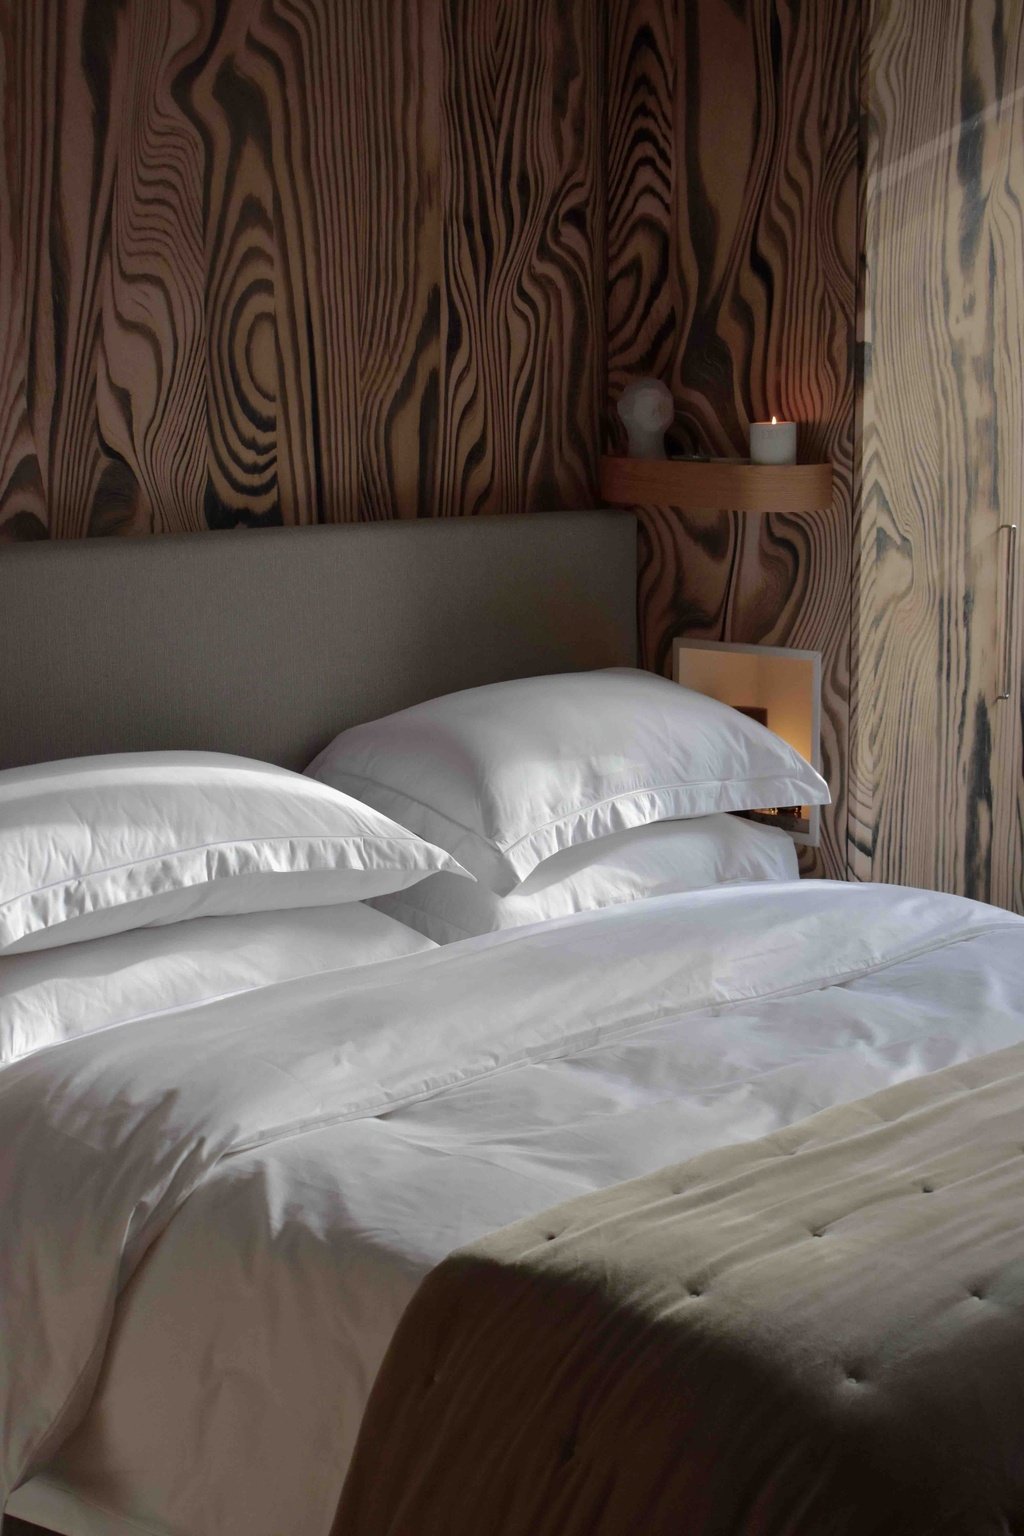
Make sure to follow Mathilda @mkdesign.london, and check out her bedroom niche and other projects at MK Design London.
