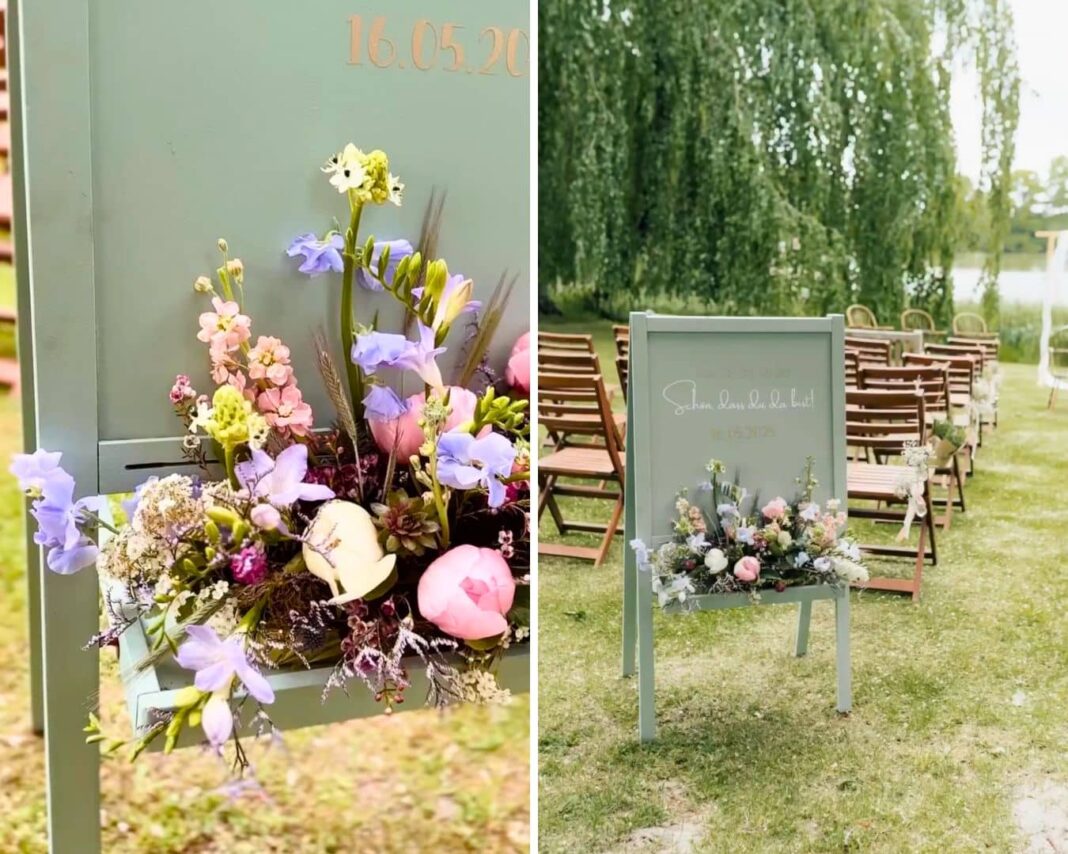
Here comes the bride! With IKEA DIYs! I’m singing that to the tune of “The Wedding March” as I check out this wedding sign hack from Jules @jules_creative.jumble.
A themed sign to welcome guests is a popular addition to wedding decor, but high-end custom ones can get pricey.
Jules created a personalized standing sign using an old IKEA MÅLA easel she had and some paint. (If you have to buy a new easel, it’s $24.99 on IKEA’s site.)
Undeniably, the final price tag on many weddings can end up tallying a small fortune. To counteract the burn, a lot of couples turn to DIY solutions to soften the financial blow.
If you’re planning a wedding, whether your own or someone else’s, bookmark this hack for a budget-friendly must-have.
What You’ll Need
- 1 IKEA MÅLA easel
- Chalk spray paint
- Cricut or similar device
- Vinyl
- Flower box or shelf
- Flowers
How to DIY a Wedding Welcome Sign
1. Prep and Paint the Easel
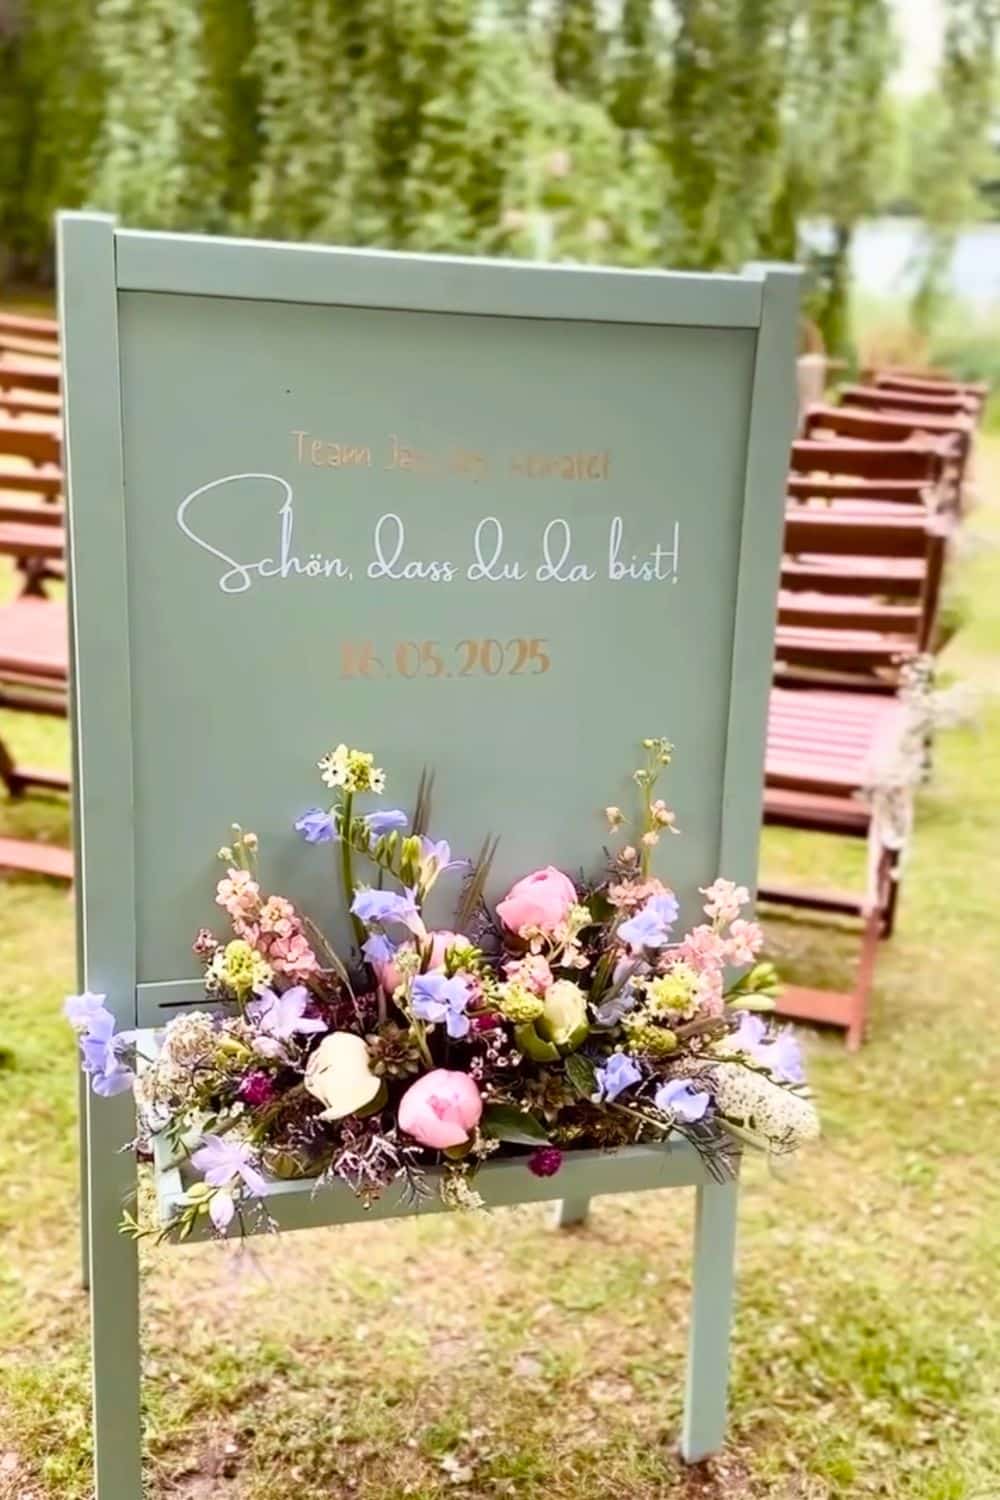
Assemble the easel, but leave off the accessories, like the clips and tray. Jules used an old chalkboard easel from IKEA, which comes with a wooden tray.
IKEA US currently features the MÅLA easel, which has a whiteboard on one side and a chalkboard on the other. Lightly sand the entire easel, and spray with the chalk paint. Let it dry thoroughly, adding a second coat if necessary.
Follow the instructions for the paint you’re using to determine approximate dry times and how many coats you may need.
Jules used Chalk Effect spray paint from COSMOS LAC @Cosmoslac_de, but you could pick up something similar from a local paint or craft store.
2. Add the Vinyl
Create the transfers for your sign using your preferred software and cut them from vinyl in the colors of your choice. Ensure the paint on the easel is completely dry before applying the vinyl transfers
If you don’t have a Cricut or similar tool (like Silhouette), you could order custom transfers (of course, then you start defeating the purpose of a cost-saving DIY).
Another option would be to create a stencil and paint the words onto the sign, or freehand it if you have nice handwriting. Whether painting or using vinyl, choose a font that reflects the style and theme of the wedding.
3. Freshen Up With Flowers
Jules joked that the priciest part of this hack was the fresh flowers. She used an older IKEA easel with a flat wooden tray, which turned out to be the perfect spot to display the blooms.
However, the current MÅLA easel only has a slim plastic ledge for chalk and similar items.
If you plan to include flowers on your sign, you could create your own tray by attaching a slim shelf or flower box. Another option is to use something like the BEKVÄM spice rack (which is only roughly 3 inches shorter than the width of the easel) to the MÅLA easel.
More Wedding Sign DIY ideas
Undoubtedly, florals are a classic decor element in weddings, but they aren’t the only option. You could use ribbons, fabric banners, tassels, beads, dried elements, or even repurposed items can all add a unique flair that aligns beautifully with your theme.
For example, if you’re having a beach wedding, perhaps you can trim your sign with seashells, driftwood pieces, starfish, or even small bottles of sand to bring in that coastal charm. A touch of sea glass or knotted rope can also elevate the nautical vibe.
Going with a Bohemian theme? Try incorporating handmade macramé, dried palm leaves, or earth-toned yarn fringe. Adding feathers, wooden beads, or woven textures can lend that free-spirited, artisanal look that defines the boho aesthetic.
Hosting a rustic barn wedding? Consider using burlap, lace trims, vintage keys, or small bundles of wheat or lavender tied with twine. Chalkboard paint on wood or distressed whitewashed signs also complement the cozy, homespun vibe perfectly.
For a modern or minimalist wedding, less is more. Stick with clean lines, metallic accents (like gold foil or copper tape), acrylic boards, and monochrome color palettes. A vinyl quote in a sleek font paired with a single statement element—like a sprig of greenery or a geometric charm—can look incredibly chic.
If you’re leaning into a romantic or garden theme, go for pastel ribbons, trailing vines, silk flowers, or even fairy lights. A sheer overlay with calligraphy can create an ethereal effect, especially when layered over a soft watercolor-painted background.
And don’t forget seasonal touches: pinecones or holly for winter weddings, mini pumpkins or autumn leaves for fall, and butterflies or pressed wildflowers for springtime nuptials.
That’s what’s so great about DIY projects — you can put your own spin on them to make them the perfect fit for you. Your sign doesn’t just show guests where to go; it’s also an opportunity to share a piece of your story.
Follow Jules @jules_creative.jumble for more wedding ideas and design inspiration. Also, check out more IKEA wedding hacks to make your special day even more unforgettable for less!
Got an IKEA hack of your own? We want to see it! Submit your project here or tag us on Instagram @ikeahackersofficial.
Never miss an IKEA hack. Get them in your inbox!
From Curbside Find to Charming DIY Wedding Sign
When Sage Ruth was planning her wedding, she wanted a sign to let guests know where to sit—but she didn’t have a concrete plan in mind.
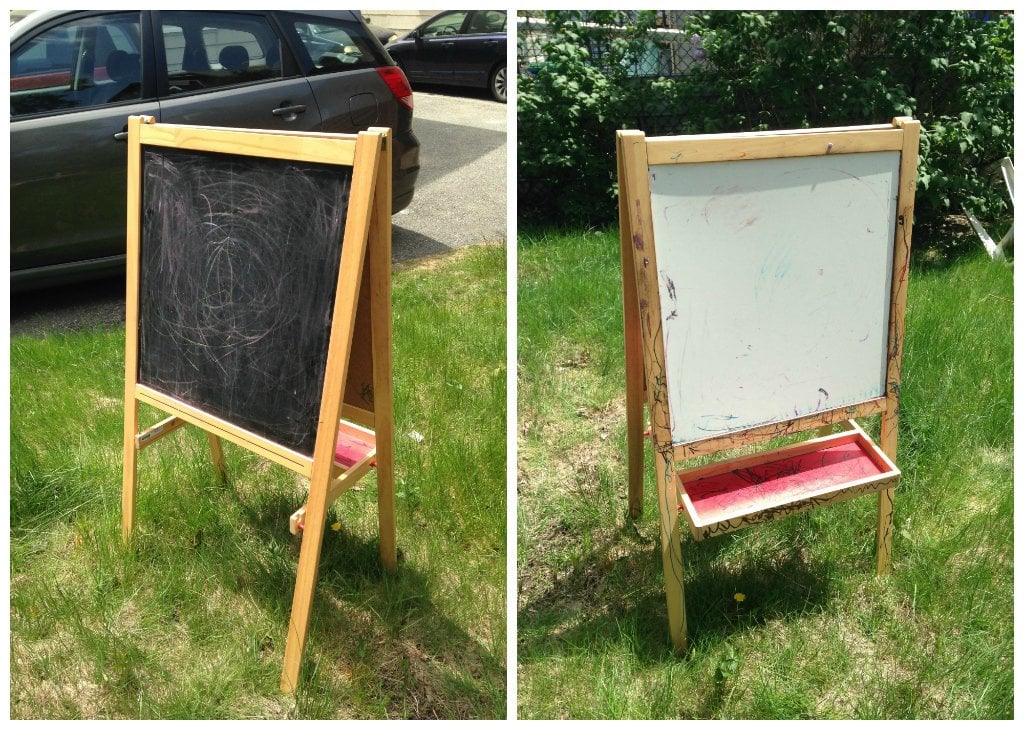
That changed when she stumbled upon a dilapidated child’s easel in someone else’s trash. The easel, which turned out to be the MÅLA from IKEA, was covered in chalk and marker, but Sage saw its potential.
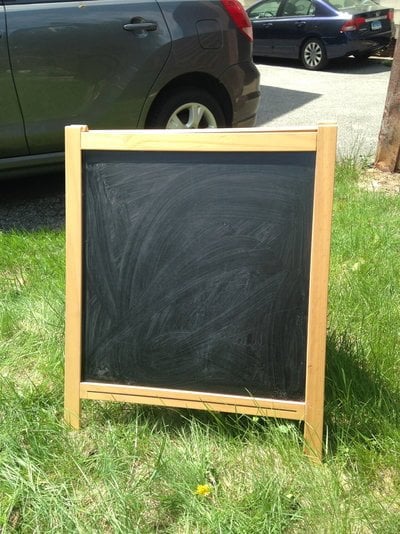
The biggest transformation came from sawing off the legs, which also removed the tray, helping it look less like a child’s toy and more like a purposeful wedding sign.
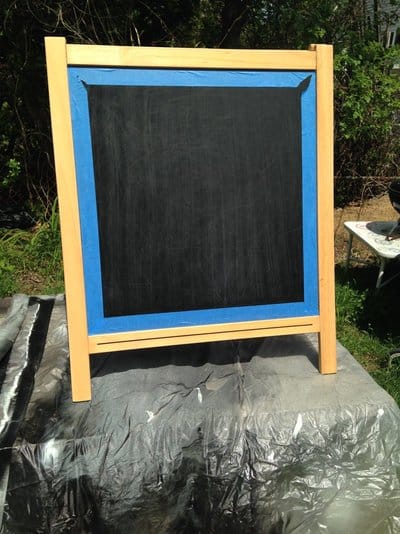
She then gave it a fresh coat of turquoise paint, repainted the chalkboard surface (which had clearly seen heavy use), and used a chalk pen to hand-letter the seating instructions.
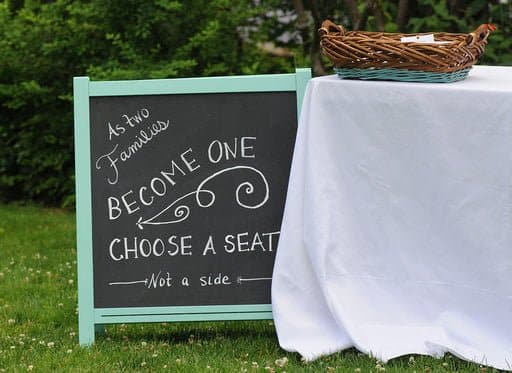
The final result? A completely refreshed and repurposed chalkboard sign that looked nothing like its humble beginnings, yet still retained the nostalgic charm of a chalkboard.
More details on Sage Ruth’s DIY blog, Plaster & Disaster.
NEXT: Explore more IKEA Easel Hacks
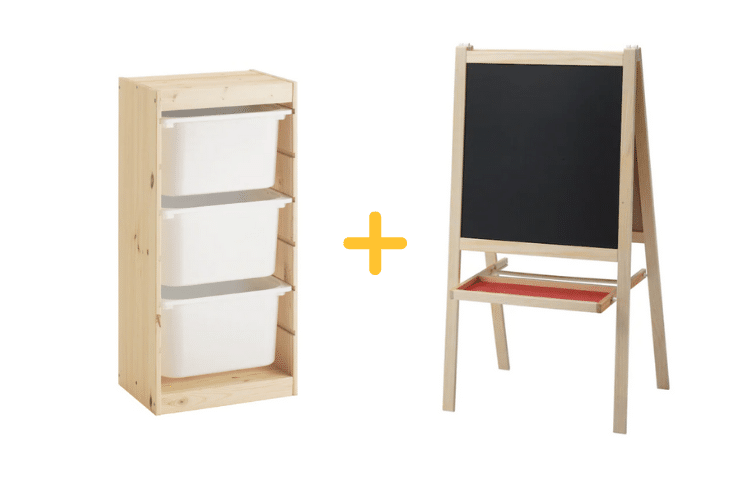
How to combine TROFAST storage with art easel
I am desperate for more space in my sons’ shared room. I’d like to replace their much-loved easel with TROFAST storage but am wondering if there is a hack that…
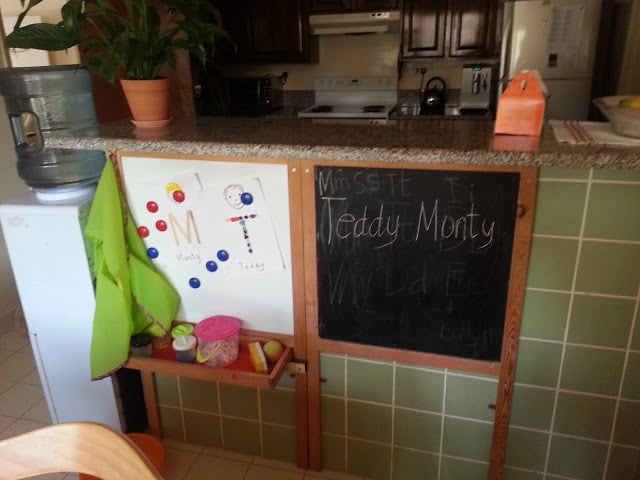
Mala magic
Materials: Mala easel , piece of batten , 10 screws , drill, hack saw. Description: Remove screws and hinges . Cut arms off paint tray. Drill holes in the top…
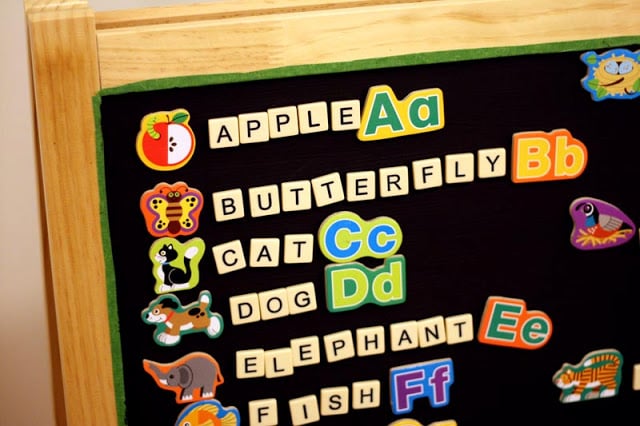
Magnetic Art Easel
Materials: MALA EaselDescription: Just because IKEA discontinued the magnetic art easel, doesn’t mean your child can’t have one. We bought the easel hoping to create an interactive way to teach…
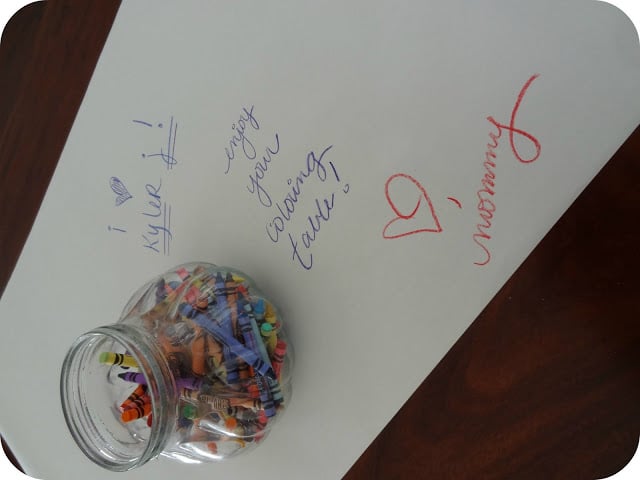
Cheap and Easy Coloring Table for your Kid!
Materials: MALA roll of paper, tension rod, dining room tableDescription: I wanted to make a coloring table for my son without purchasing another table and without paying the hefty price.…
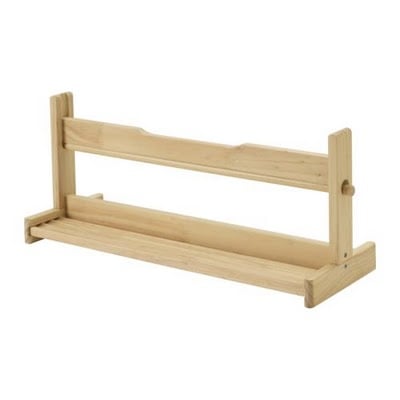
Hacker help: Any ideas on how to turn the Mala into a menuboard?
Materials: Mala Description: Ok. So I bought a Mala Tabletop paper holder and paper roll for our son to draw on. I then saw this Junction Paper Holder (see pic,…

